Initialization guide
Set up admin user
-
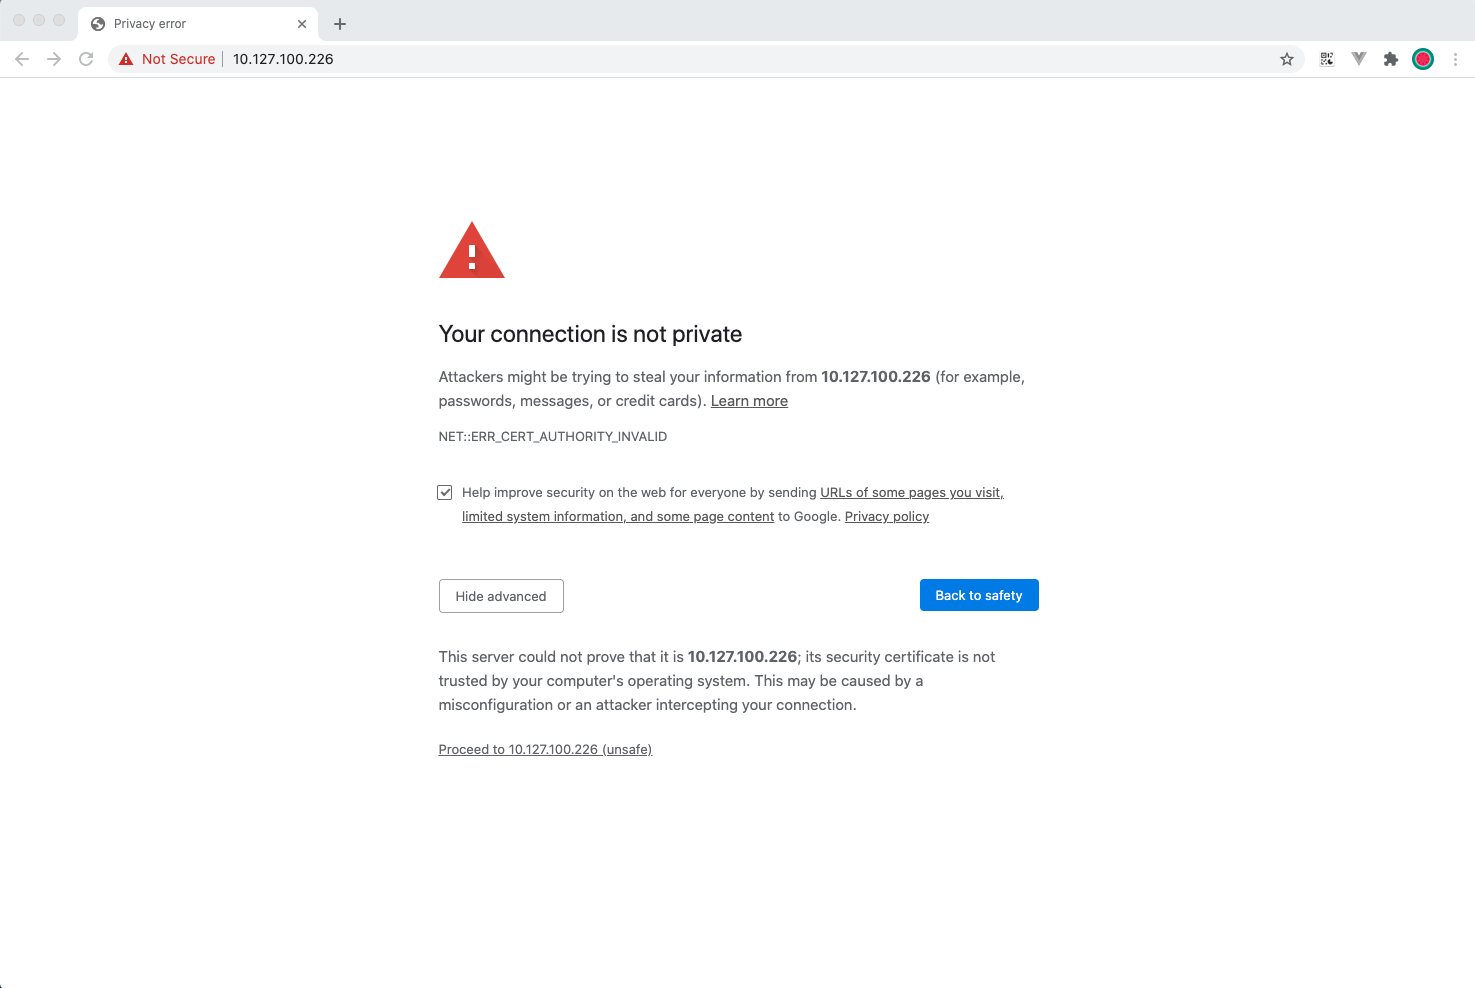
When the deployment of First Node is completed, users can enter the IP address of First Node in the browser, if prompted “Your connection is not private”, please click “Advanced” button and click “Proceed to x.x.x.x (unsafe)” to open the Cloud Management Platform console.
-
On the administrator registration page, set the administrator account and password, and click the “Register” button to create an administrator user.

-
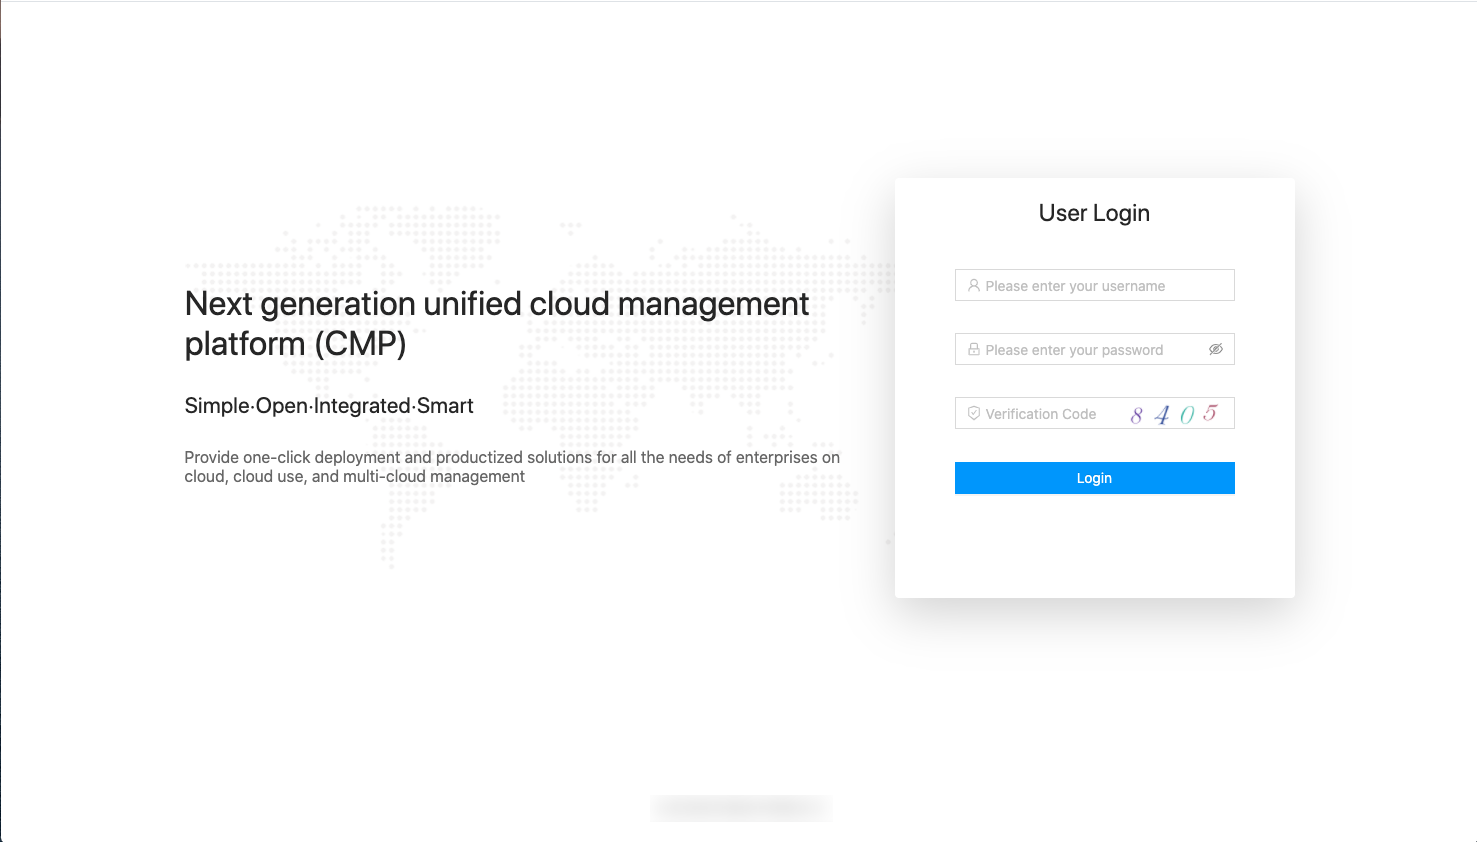
Enter user name, password and login to the CMP.
Authorization activation
OneCloud v3.3.0 no longer has a built-in License, users need to apply for a trial License to activate OneCloud . If you need to purchase a full version of the License, please contact our sales staff or get support through our contact email.
- The first time a user logs in, the OneCloud license activation dialog will be forced to pop up. Unactivated OneCloud cannot be used.
- Please copy the server identifier and follow the instructions below to apply for a free License online or contact a salesperson to obtain a License file.
- Upload the obtained License file to successfully activate OneCloud .
Feature Selection
After the product is activated, the system will display the selectable features according to the features included in the License. In addition, users can also select features according to the usage scenario, the system will display the corresponding menu items according to the user’s selected feature or platform, other irrelevant menus will be hidden, please select according to the actual situation, and if you need to adjust the system, click the upper right corner icon and select the “Function Selection” menu item to re-enter the function selection page.
Translated with www.DeepL.com/Translator (free version)
Description
- Baremetal and load balancing features must be selected for OneStack to be checked.
- Kubernetes container module must be checked after any of OneCloud private cloud, public cloud nano-management, private cloud & virtualization platform is checked.
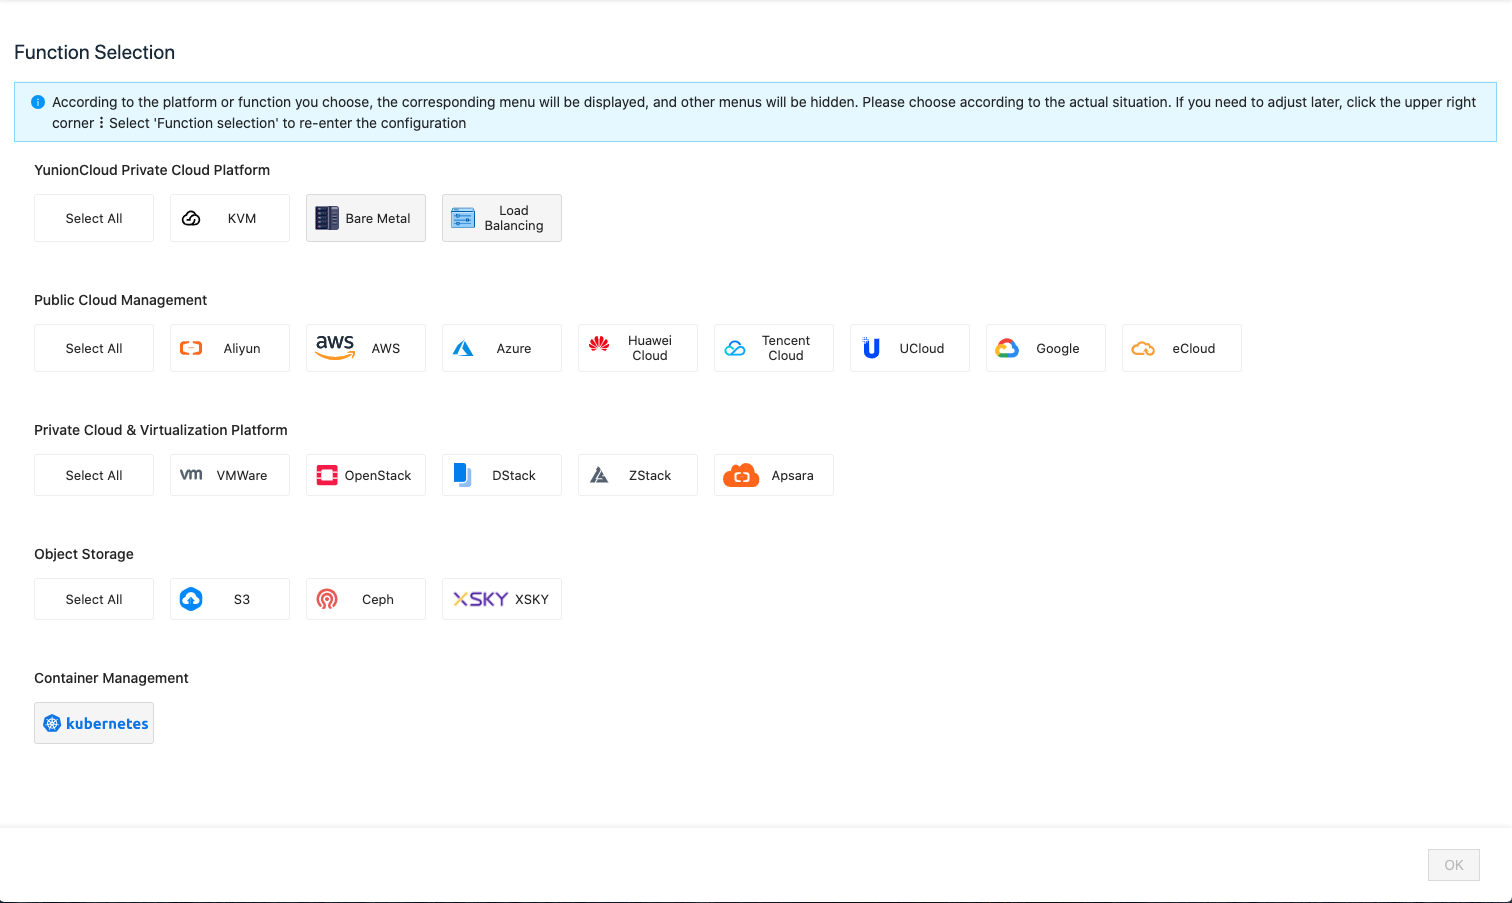
- When the user selects OneCloud private cloud only for the first time in the feature selection, it will enter the OneCloud private cloud platform guidance process, please see private cloud scenario guidance.
- When the user selects public cloud nano-management, private cloud & virtualization platform, or object storage, it will jump directly to the cloud account page to add the cloud account of the corresponding platform, etc.
Private cloud scenario guide
Take the check all features as an example.
Description
- The platform is not opened by default with three levels of permissions after the deployment is completed. The resources created during the bootstrapping process belong to the default domain by default.
- If you do not want to configure a page during the boot process, you can click the “Skip” button to skip the page configuration and go to the next page.
This bootstrap process is used to help users quickly configure the compute, storage, and network resources of the built-in private cloud on OneCloud , enabling them to create servers for the OneCloud platform.
-
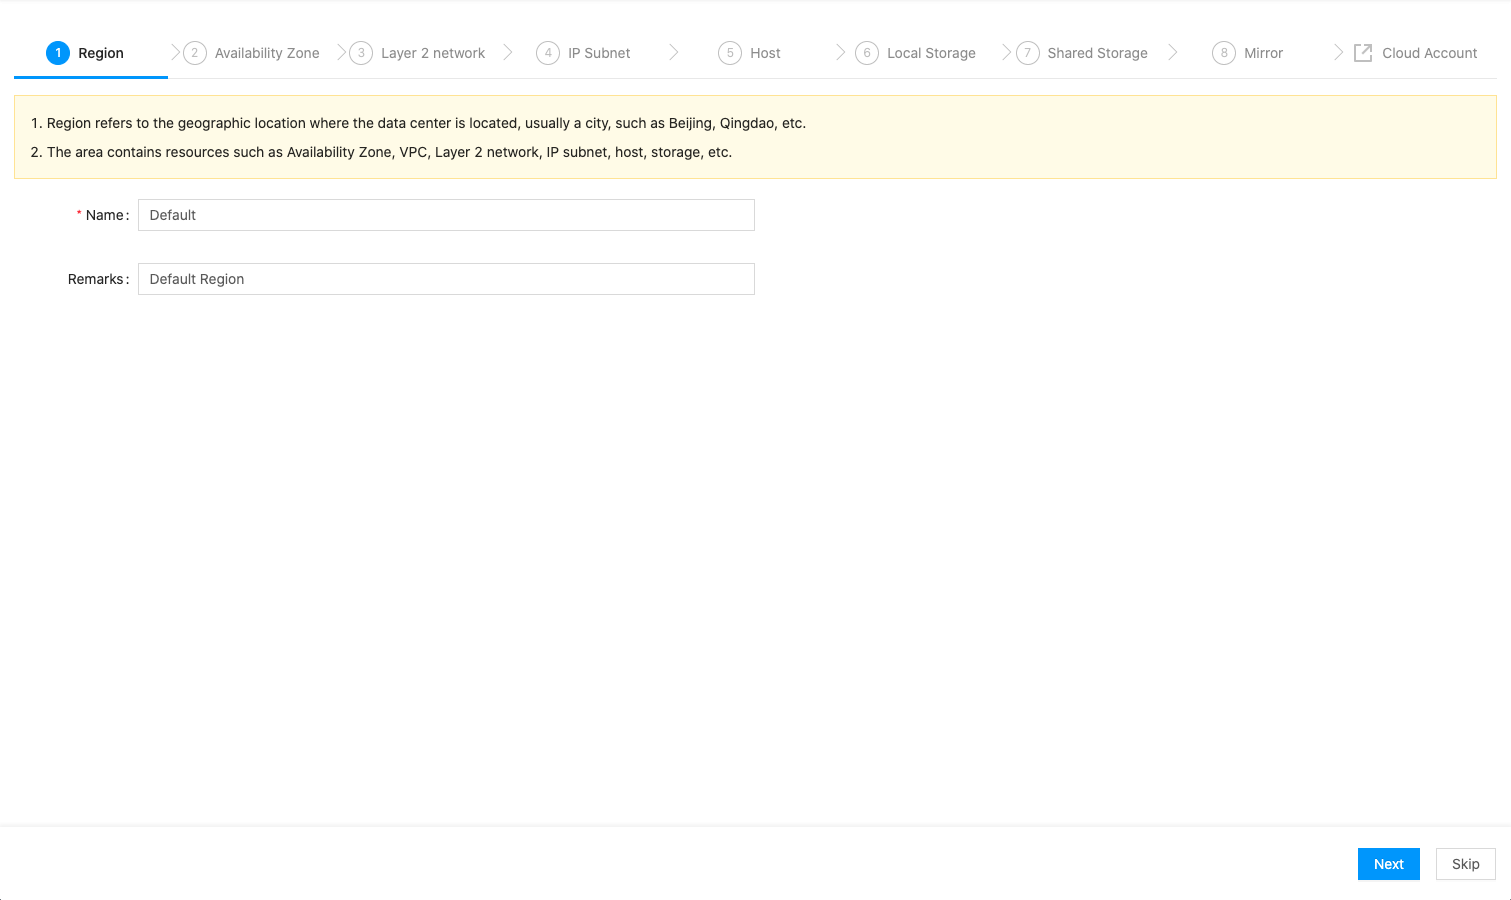
Set the region name and notes on the region page and click the “Next” button.
Notes
- Region refers to the geographical location of the data center, usually a city, e.g. Beijing, Qingdao, etc.
- The built-in private cloud has one and only one region by default. The region name can only be changed in the system boot.
- The region contains resources such as zone, VPCs, L2 Network, IP subnets, hosts, storage, etc.
-
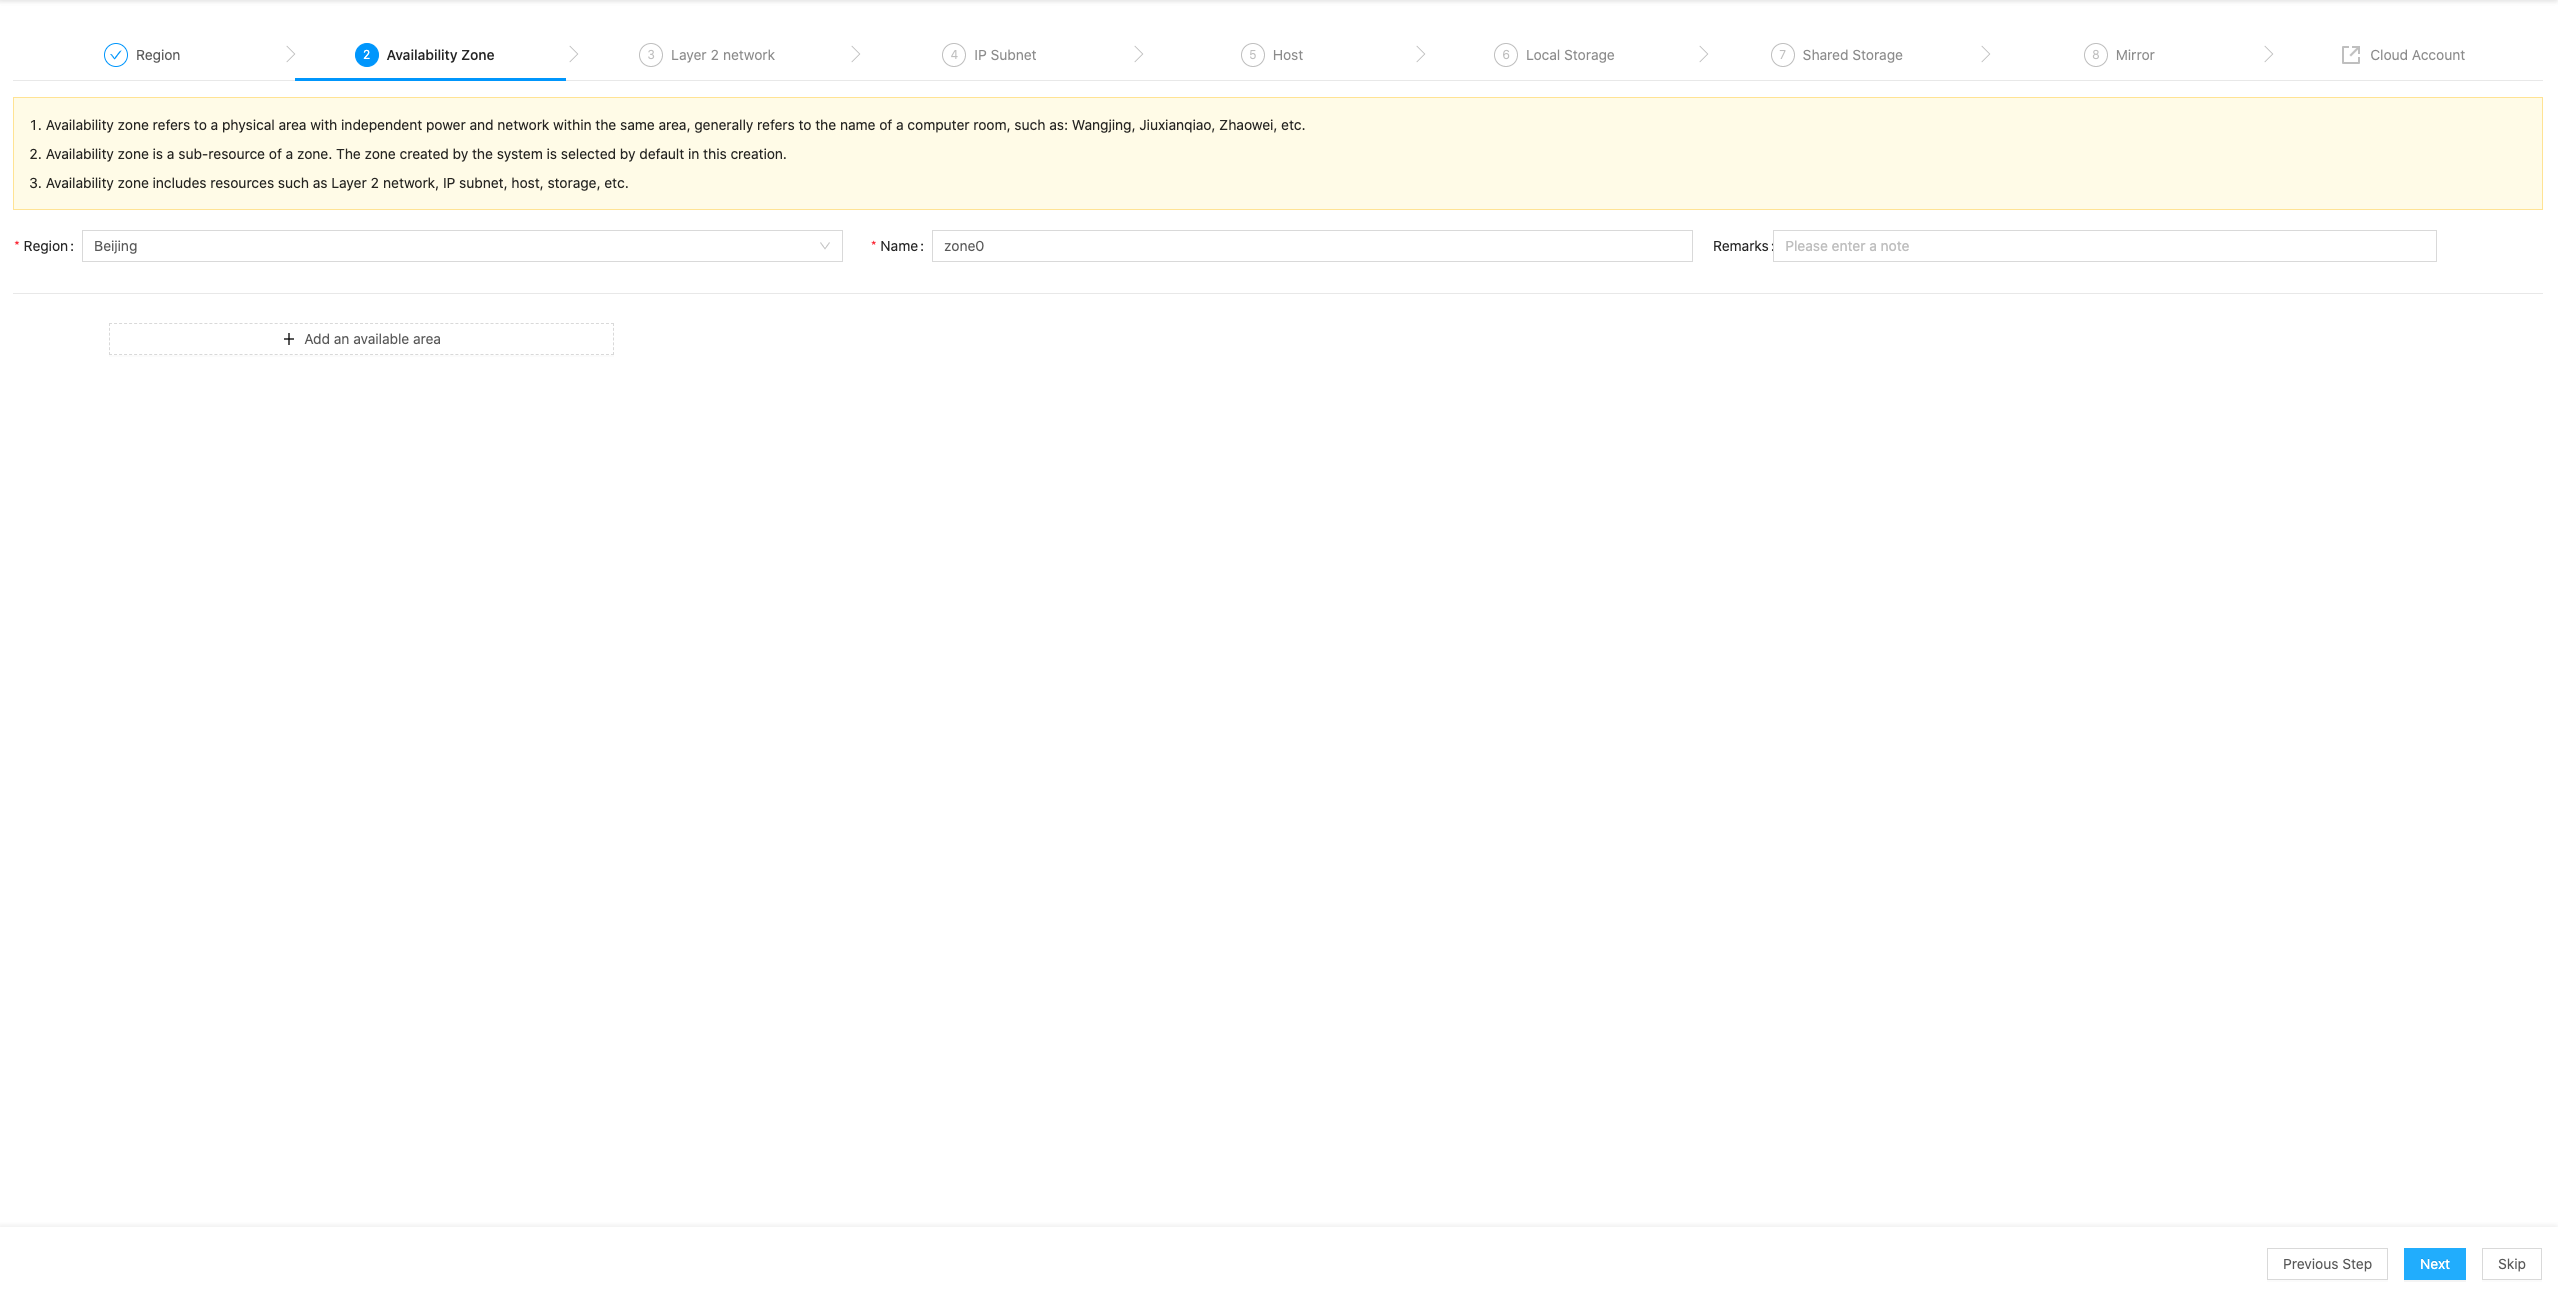
Set the zone name and notes on the zone page, support adding multiple zone at the same time, click the “Next” button.
Notes
- Availability zone refers to a physical area within the same region where power and network are independent of each other, and generally refers to the name of a server room, e.g. Wangjing, Jiuxianqiao, Zhaowei, etc.
- Availability zones are regional subresources, and zone belong to the zone created in the previous step by default. oneStack supports only one zone.
- Availability zones contain resources such as L2 Network, IP resources, hosts, storage, etc.
- Scheduling isolation can be done by creating multiple Zones or creating multiple L2 Network under one Zone.
-
Select the zone on the L2 Network page and set the name, bandwidth and notes of the L2 Network under the zone to support creating multiple L2 Network at the same time. Click the “Next” button.
Description
- L2 Network is a logical layer of network isolation on top of an IP subnet. Scheduling isolation can be done by creating multiple L2 Network.
- L2 Network are sub-resources of zone and multiple L2 networks can be created under different zone.
- The bandwidth limit for servers under a L2 Network is by default the bandwidth of the L2 Network.

-
Select the L2 Network on the IP subpage and create the name, starting IP address, ending IP address, subnet mask and default gateway address of the IP subnet of the server under the L2 Network and click the “Next” button.
Description
- The IP subnet created in this step is an IP subnet of a classic network and can be used to create servers and baremetal servers.
- Currently only multiple IP subnets are supported to be created under a L2 Network.
- Up to 5 IP subnets are supported to be created at the same time.

-
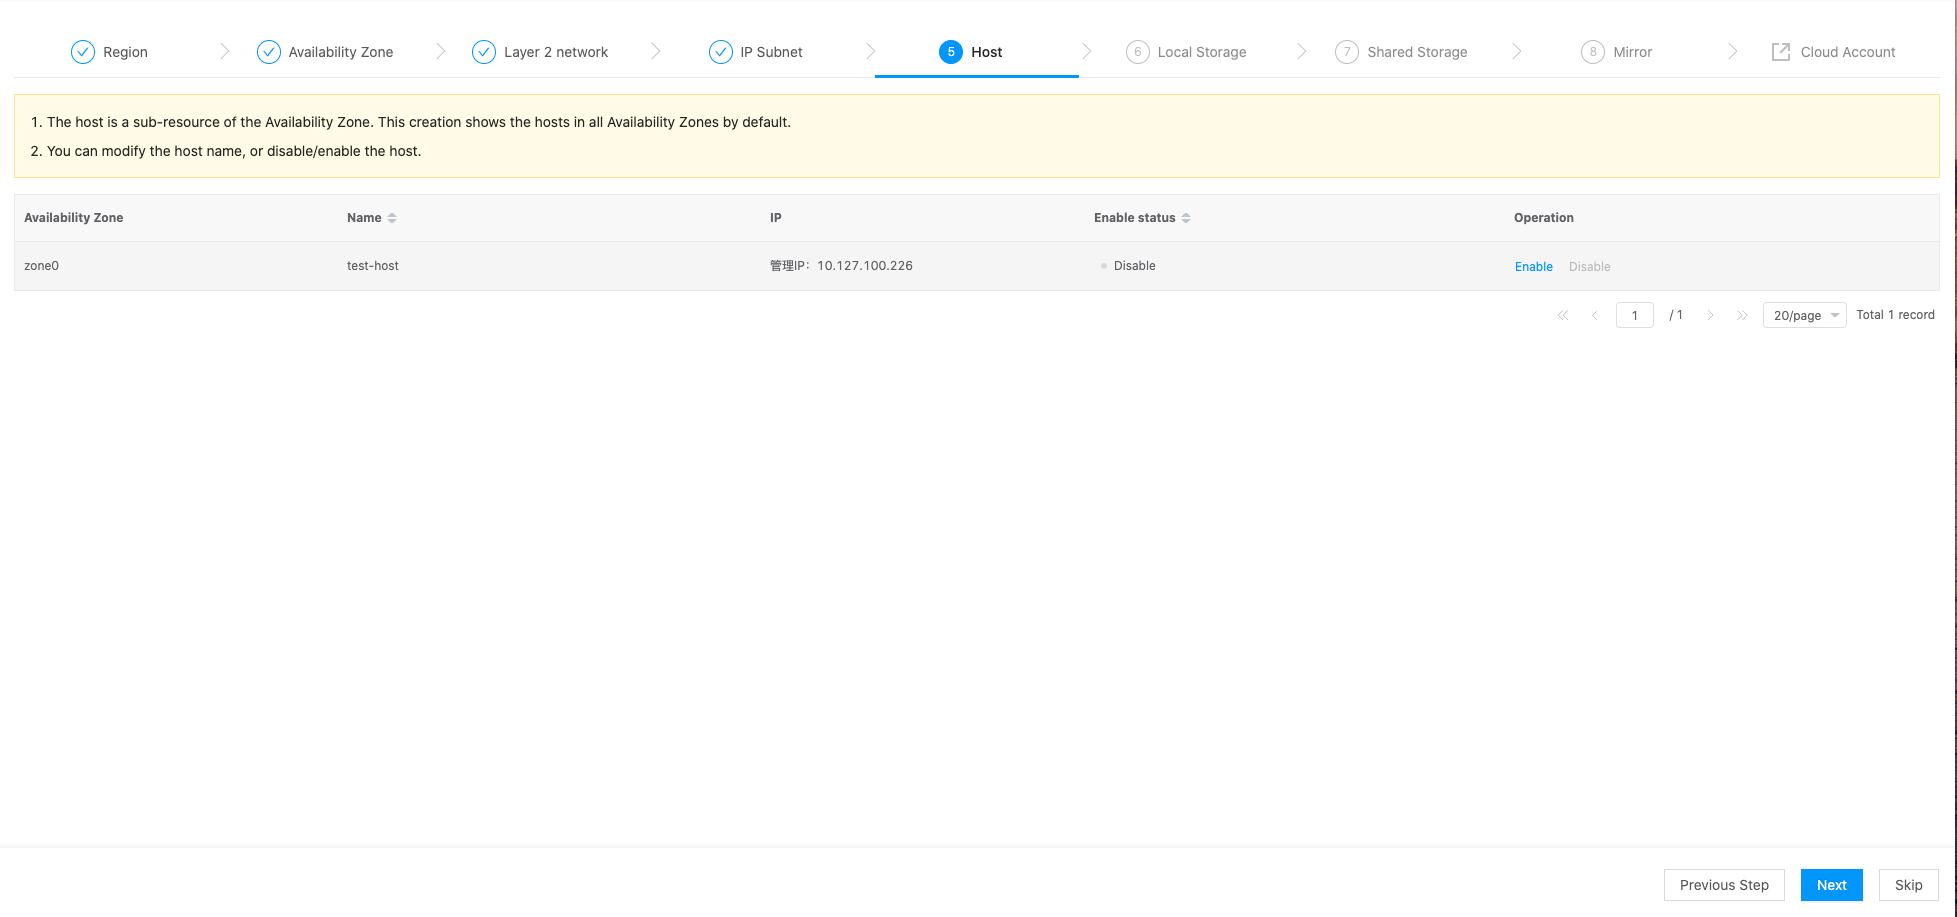
On the Hosts page, enable the host and click the “Next” button.
Description
- Make sure that at least one host is enabled, otherwise the Server menu will not appear and you will not be able to proceed to the next step.
- Hosts are sub-resources of the zone, and this creation shows all hosts in the zone by default.
-
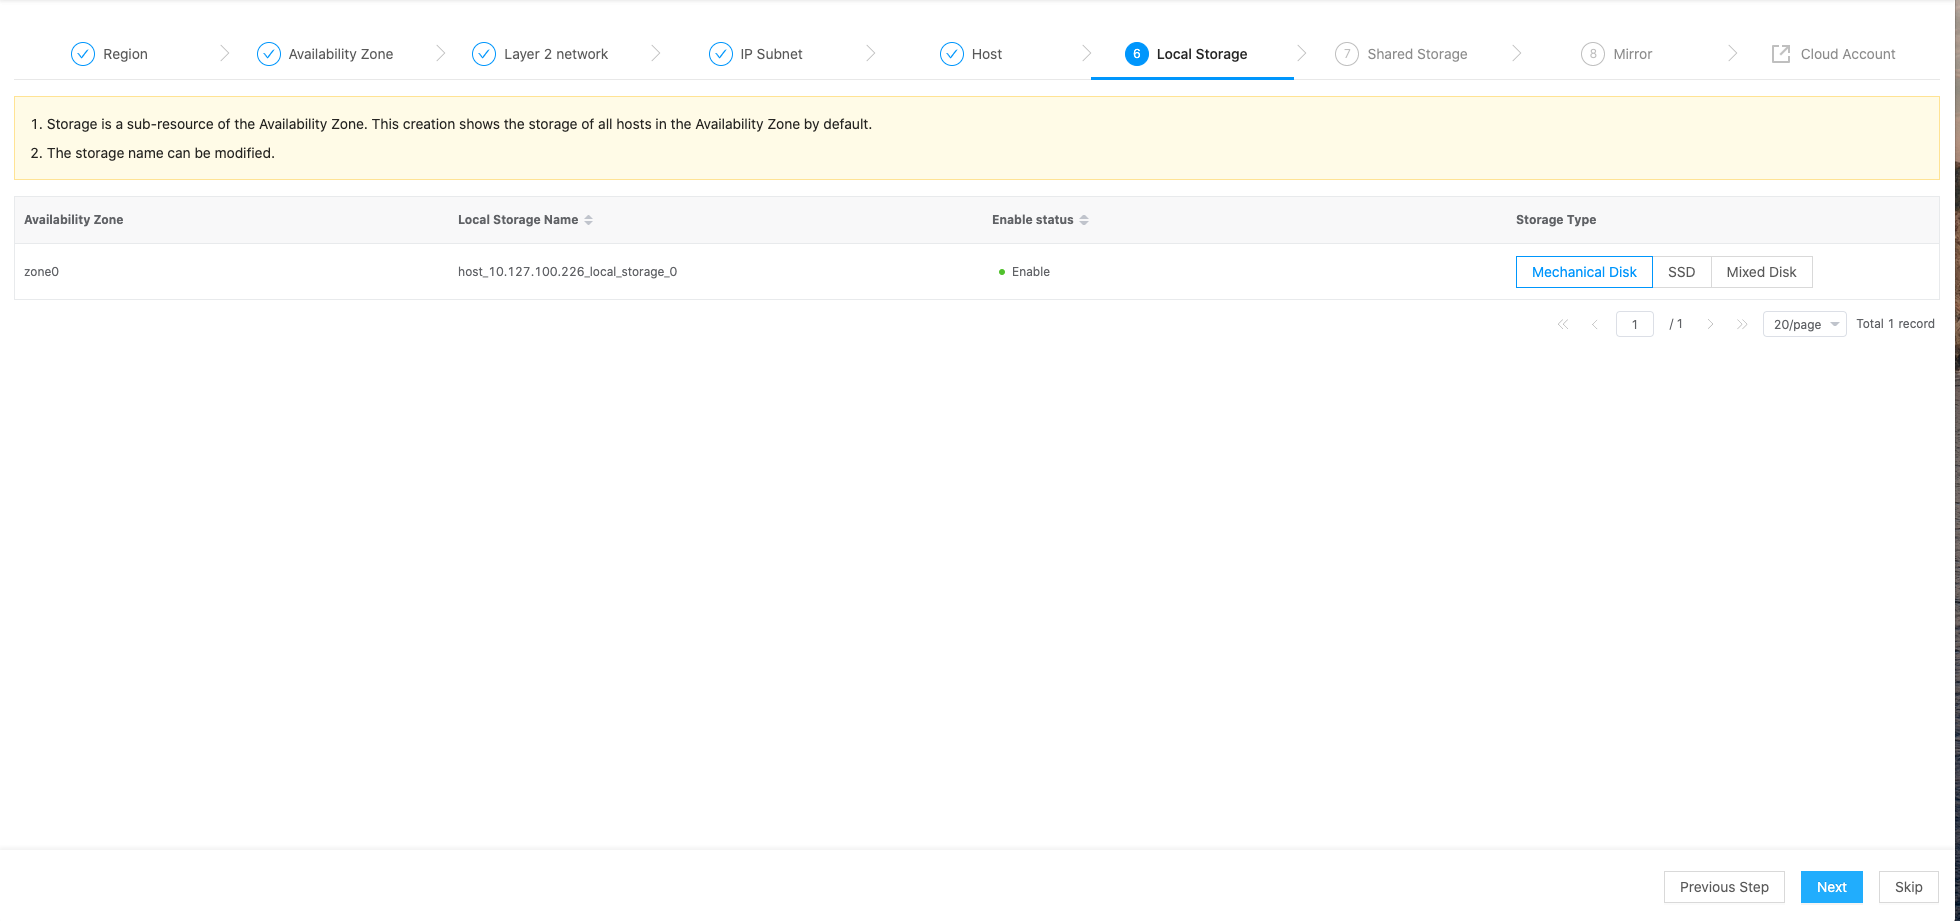
On the Local Storage page, to support setting the storage type for local storage, click the “Next” button.
Description
- The local storage is the storage on the host, which by default shows the storage on the host under all zones.
-
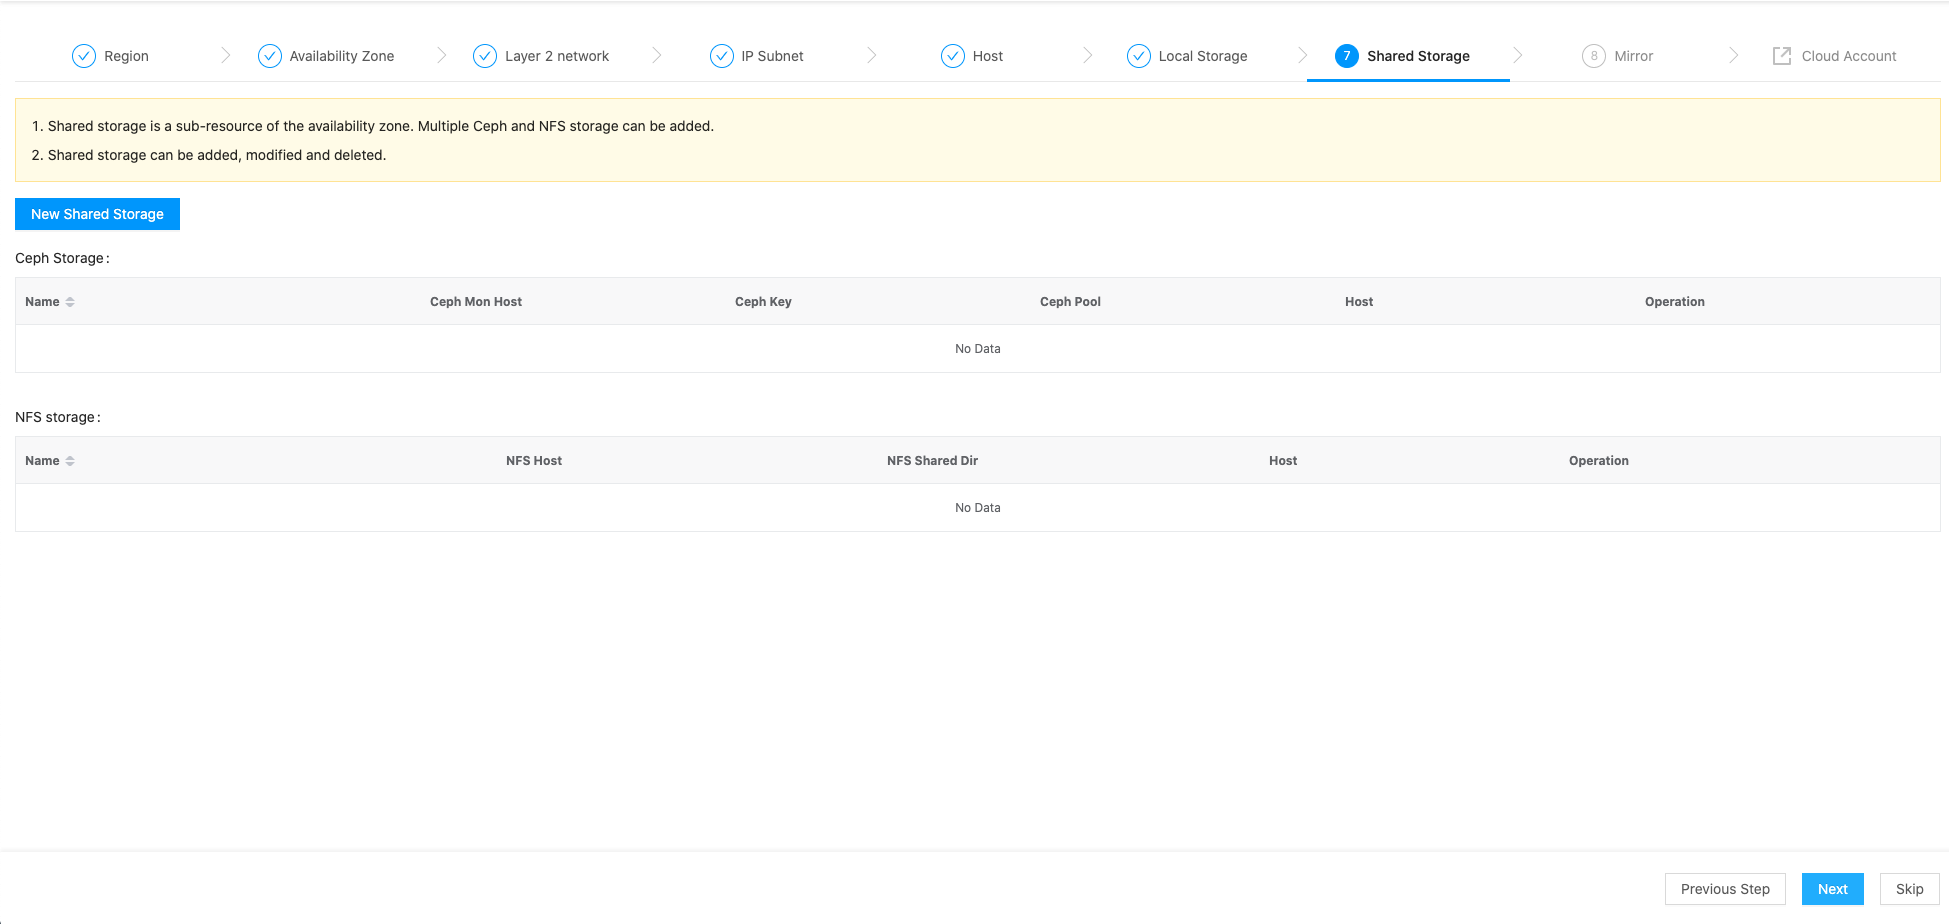
On the Shared Storage page, you can create new shared storage and mount the shared storage for use on the host. When the shared storage configuration is complete, click the “Next” button.
- Create Shared Storage: Click the “Create Shared Storage” button to configure the following information in the Create dialog box that pops up.
- When you select the storage type “Ceph”, configure the following parameters.
- Ceph Mon Host: The IP address of the monitoring node of the Ceph storage.
- Ceph Key: The Ceph storage cluster enables key authentication by default, and the Ceph Key is the user’s key in the format of “AQDsBh5b1CtoHxAA9atFhYn1cPBJvPCpoRVo/g==”. You can get the user key stored in Ceph with the following command.
$ ceph.client.admin.keyring | grep key- Ceph Pool: The storage pool for the Ceph storage.
- When selecting the storage type “NFS”, configure the following parameters: NFS type storage requires local data center storage NFS network storage server.
- NFS Host: The IP address of the NFS server.
- NFS Shared Dir: The shared directory set by the NFS server.
- When you select the storage type “Ceph”, configure the following parameters.
- Associate Host: Click the Associate Host button in the action bar on the right side of the shared storage, select the host and mount point in the pop-up Associate Host dialog box, and click the “OK” button.
Description
- Shared storage is a sub-resource of the Zone and supports adding multiple shared storage.
- Shared storage supports association with multiple hosts.
- Create Shared Storage: Click the “Create Shared Storage” button to configure the following information in the Create dialog box that pops up.
-
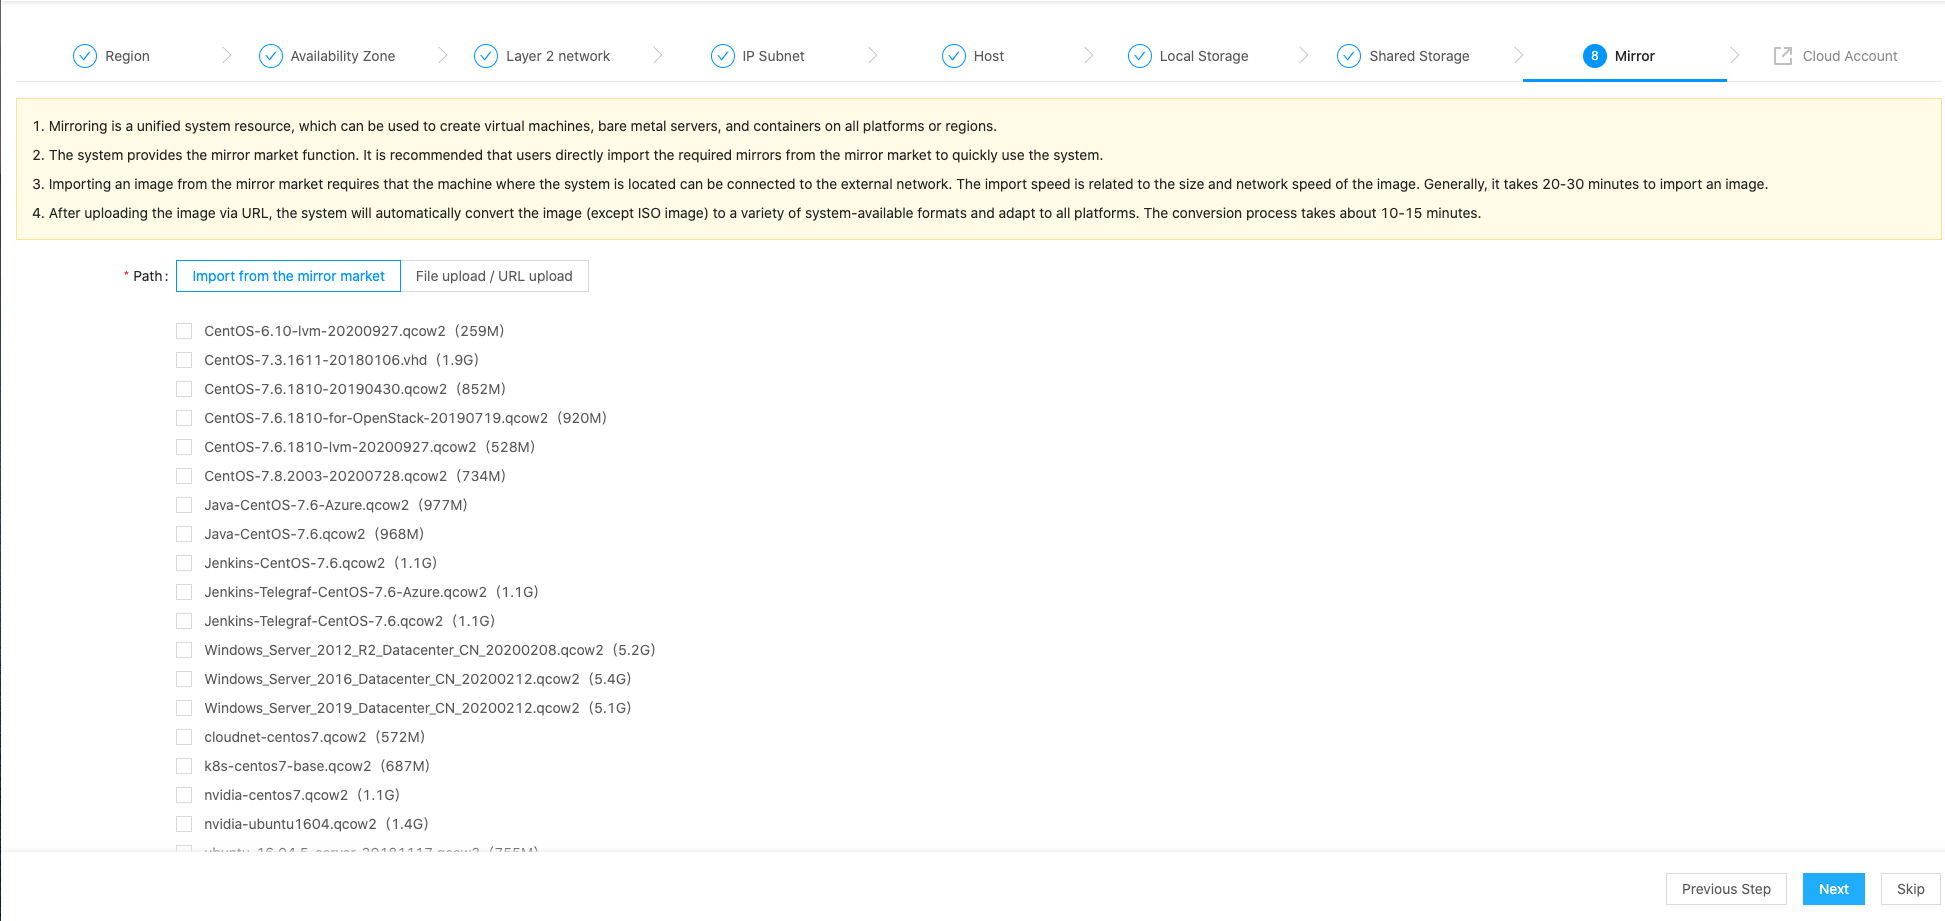
On the Image page you can import or upload OneCloud images for the platform as needed, click the “Next” button.
Description
- images on the OneCloud platform can be adapted for use on all platforms.
- The platform provides image marketplace function, users can directly use the image imported from the image marketplace to create servers, but it requires the First Node node to have access to the extranet, and it takes about 20~30 minutes to import a image from the image marketplace.
- After uploading the image via URL, the system will automatically convert the image (except ISO images) to a variety of system formats available for all platforms. The conversion process takes about 10 to 15 minutes.
The conversion process takes about 10-15 minutes.
- Finish the guide and jump to the cloud account page, where users can add cloud accounts of other platforms according to their needs.