Clusters
The cloud management platform supports creating and nano-managing Kubernetes clusters, and currently supports the following ways of nano-managing clusters.
- Create Kubernetes clusters based on OneCloud , Aliyun, AWS platform’s servers.
- Import the created clusters and support nano-managed Kubernetes clusters and OpenShift clusters.
A Kubernetes cluster is a collection of cloud resources that containers need to run. A Kubernetes cluster consists of 1 to 3 control nodes and n compute nodes.
- The controlplane, or master node, is a combination of three independent components that work closely together: the kube-apiserver for API services, the kube-scheduler for scheduling, and the kube-controller-manager for container orchestration. The persistent data of the whole cluster is processed by the kube-apiserver and stored in Etcd.
- Compute node (Node): The node used to run the business. Generally user-created pods are only allowed in the node node.
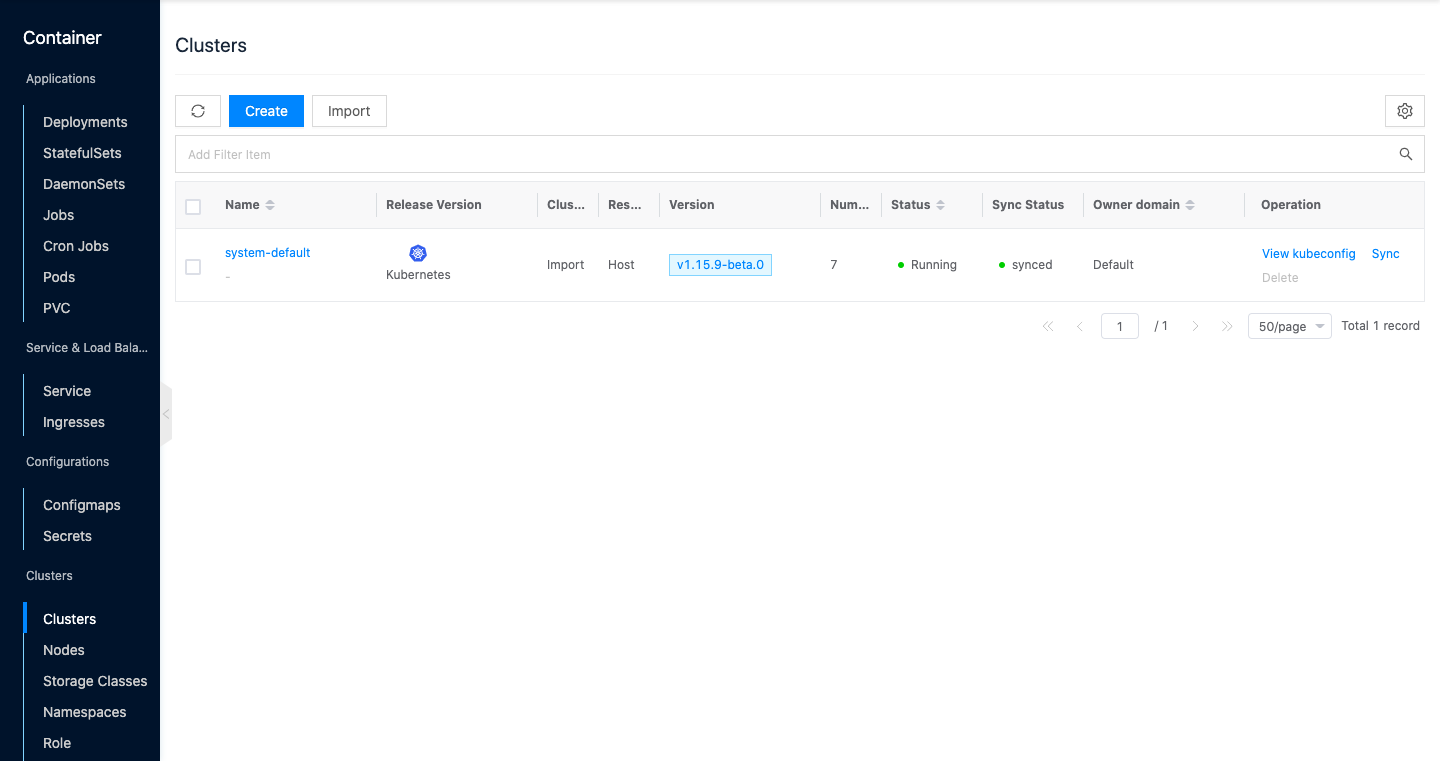
Entry: In the cloud management platform click on the top left corner navigation menu, and click “Containers/Clusters/Clusters” menu item in the left menu bar that pops up to enter the clusters page.
Create cluster
This feature allows you to quickly create a Kubernetes cluster based on the interface. Currently, it only supports creating servers and deploying Kubernetes clusters on OneCloud , Aliyun, AWS platform.
Pre-conditions
- When the interface indicates that no platform is available, please ensure that the
OneCloud
, Aliyun, AWS platforms have available resources to create vm instance, etc.
- Only show the OneCloud platform if it has a host with an enabled status.
- The Aliyun, AWS platform will only be displayed if there is a corresponding cloud account for that platform.
- When the interface indicates that the corresponding platform image is not found, please ensure that the
CentOS-7.6.1810-20190430.qcow2image has been imported into the environment.- On the system image page, import the
CentOS-7.6.1810-20190430.qcow2image required to deploy the k8s cluster by entering the image URLhttps://iso.yunion.cn/vm-images/CentOS-7.6.1810-20190430.qcow2via the upload image function. qcow2 image.
- On the system image page, import the
- When creating a container cluster, please create the control node first. Bulk creation of both control and compute nodes is supported.
Steps
- On the Cluster page, click the “Create” button at the top of the list to enter the Create Cluster page.
- Set the following parameters.
- Platform: Currently, OneCloud , Aliyun, and AWS platforms are supported.
- Region: Select the region and zone to which the container cluster belongs.
- Name: Set the cluster name.
- Machine Configuration: Set the configuration information of the server. If you need to create a cluster with different configurations or different roles, you can click the “Add Machine” button to set the machine configuration parameters, etc.
- CPU: the range of values is 2~32 cores.
- Memory: The range of values is 1~128GB.
- Disk: The range of values is 40~500GB.
- IP subnet: requires that there are free IP addresses in the IP subnet and the IP address of the assigned server is routable to the control node, currently only the IP subnet under the classic network (Default VPC) is supported.
- Role: Includes control nodes and compute nodes.
- Number: Set the number of VMs that create the same configuration with the same role.
- Version: Currently only v1.17.0 of Kubernetes is supported.
- Image repository: choose whether to use other image repository to create container clusters, if checked, you need to set the address of the image repository.
- Image repository address: Set the address of the image repository.
- Click the “OK” button to create the container cluster as well as the control nodes and compute nodes, etc.
Note
No more than 10 machines can be created in a single session.
Import Cluster
This function is used to import existing clusters to the cloud management platform for management, and supports importing Kubernetes clusters and OpenShift clusters. Imported clusters do not support node management and other features.
- On the Cluster page, click the “Import” button at the top of the list to enter the Import Cluster page.
- Configure the following parameters.
- Name: Set the name of the imported cluster.
- Release: Select the cluster type, including Kubernetes cluster and OpenShift cluster.
- KubeConfig configuration: Copy the kubeconfig configuration information of the existing cluster and paste it there.
- Click the “Import” button to import the existing cluster.
View kubeconfig
The kubeconfig file can help users connect to a Kubernetes cluster via kubectl on client computers.
Prerequisites
Ensure that the client machine has the kubectl client installed. It is recommended that users use a server created with the k8s-centos7-base.qcow2 image, which has the kubectl client installed, as a client.
Action
-
On the cluster page, click the “View kubeconfig” button on the right action bar of the cluster to bring up the cluster kubeconfig dialog box.
-
Click the “Copy” button to copy the kubeconfig contents to $HOME/.kube/config on the client computer.
$ mkdir -p $HOME/.kube/ $ touch $HOME/.kube/config # Create the config file $ vi $HOME/.kube/config # Edit the config file and paste the copied kubeconfig contents into the config file -
Execute the following command on the client computer to verify that the cluster can be managed via the kubectl command.
# Get the cluster nodes
$ kubectl get nodes
Description
For kubectl-related commands, see kubectl reference documentation
Synchronization
This function is used to synchronize cluster status and resources, etc.
- On the cluster page, click the “Synchronize” button on the right action bar of the cluster to synchronize the cluster status.
Delete
This function is used to delete a cluster.
- On the cluster page, click the “Delete” button on the right column of the cluster to bring up the action confirmation dialog.
- Click the “OK” button to delete the cluster.
Node Management
This function is used to view and manage the nodes in the cluster. This operation is not supported for imported clusters.
Add Node
This function is used to add nodes under a cluster.
- On the cluster page, click the cluster name item to enter the node management page.
- Click the “Add Node” button at the top of the list to bring up the Create Node dialog box.
- Set the region and machine configuration information, support adding multiple nodes, and click the “OK” button to add a control node or a compute node.
Delete Node
This function is used to delete nodes under the cluster.
Delete
- On the Cluster page, click the Cluster Name item to enter the Node Management page.
- Click the “Delete” button in the action bar on the right side of the node to bring up the action confirmation dialog.
- Click the “OK” button to complete the operation.
Batch Delete
- On the Cluster page, click the Cluster Name item to enter the Node Management page.
- Select one or more nodes in the node list, and click the “Delete” button at the top of the list to bring up the operation confirmation dialog.
- Click the “OK” button to complete the operation.
View Operation Log
This function is used to view the log information of the cluster-related operations.
- On the Cluster page, click the Cluster Name item to enter the Cluster Details page.
- Load More Logs: In the Operation Logs page, the list shows 20 operation logs by default. To view more operation logs, please click the “Load More” button to get more log information.
- View Log Details: Click the “View” button on the right column of the operation log to view the log details. Copy details are supported.
- View logs of specified time period: If you want to view the operation logs of a certain time period, set the specific date in the start date and end date at the top right of the list to query the log information of the specified time period.
- Export logs: Currently, only the logs displayed on this page are supported to be exported. Click the upper-right corner of
 icon, set the export data column in the pop-up export data dialog, and click the “OK” button to export the logs.