Notification Topic
Notification Topic are used to customize the message notifications brought by resource changes. Currently, it supports sending message notifications for operations such as resource creation, deletion, adjustment of configuration, password change, operation failure, expiration release, timed task, automatic snapshot, scaling policy, etc. It also supports receiving message notifications for resource message configuration recipients or robots, etc.
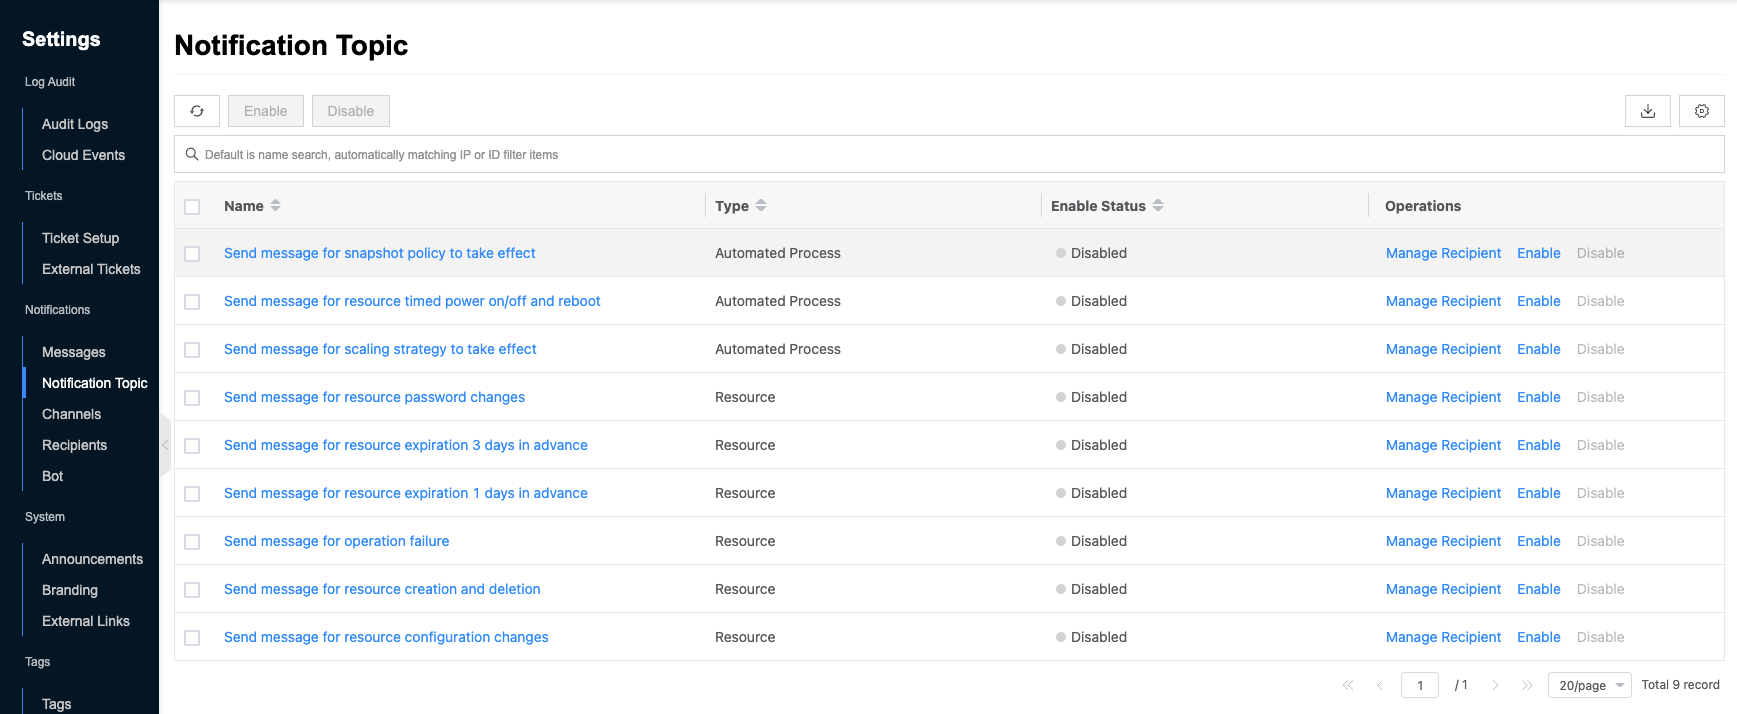
Entry: In the cloud management platform click the top left corner navigation menu, and click “System Configuration/Message Center/Notification Topic” menu item in the left menu bar that pops up to enter the notification topic page.
Manage Recipient
This function is used to manage the recipients or bots etc. that receive message notifications.
Create recipient
This function is used to create a new recipient or bot, etc., that receives message notifications.
- On the notification topic page, click the “Manage Recipient” button in the action column on the right side of the message to enter the details - Manage Recipient page.
- Click the “New” button at the top of the list to bring up the New Recipient dialog box.
- Configure the following parameters.
- Resource range: Limit the resource range for sending message notifications.
- When the resource scope is “System”, all resource changes in the system will be sent to the message notification.
- When the resource scope is “Domain” and the specified domain is selected, only the resources under the specified domain will be notified of the changes.
- When the resource scope is “Project” and the specified project is selected, only the resource changes under the specified project will be sent message notifications.
- Type: Select the type of receiving message notifications, including recipient, role, and robot.
- Recipient: When “Recipient” is selected as the type, you need to select the user who will receive the resource message notification.
- Role: When you select “Role” as the type, you need to specify the scope and role of the role.
- When the scope is “Global”, the users of the corresponding roles in the whole system will be notified.
- When the scope is “Domain”, the users of the corresponding role in the domain where the resource is located will be notified.
- When the scope is “Project”, the users of the corresponding role under the project where the resource is located will be notified.
- Bot: When you select “Bot” as the type, you need to select the robot that will receive the resource message notifications. 4. Click the “OK” button to complete the operation.
- Resource range: Limit the resource range for sending message notifications.
Modify recipients
This function is used to modify the recipients set in the reception management.
- On the notification topic screen, click the “Manage Recipient” button in the right column of the message to enter the Details - Manage Recipient screen.
- Click the “Modify” button on the right column to bring up the Modify Recipient dialog box.
- You cannot modify the resource scope and type, and only allow you to modify the specific recipient, role, robot, etc.
- Click the “OK” button to complete the operation.
Enable Recipients
This function is used to enable recipients in the “disabled” state, which will not be able to receive message notifications from resources.
Single Enable
- On the notification topic page, click the “Manage Recipient” button on the right column of the message to enter the details - Manage Recipient page.
- Click the “More” button on the right action bar of the recipient with “Disabled” status, and select the drop-down menu item “Enable” to bring up the action confirmation dialog.
- Click the “OK” button to complete the operation.
Batch Enable
- On the notification topic page, click the “Manage Recipient” button in the action bar on the right side of the message to enter the details-receive management page.
- Select one or more recipients in the list, click the “More” button at the top of the list, and select the “Enable” menu item in the drop-down menu to bring up the operation confirmation dialog.
- Click the “OK” button to complete the operation.
Disable Recipients
This function is used to disable the recipients in the “enabled” state, which will not be able to receive message notifications from resources.
Single Disable
- On the notification topic page, click the “Manage Recipient” button on the right column of the message to enter the details - Manage Recipient page.
- Click the “More” button on the right action bar of the recipient with “Enable” status, and select the “Disable” menu item to bring up the action confirmation dialog.
- Click the “OK” button to complete the operation.
Batch Disable
- On the notification topic page, click the “Manage Recipient” button in the action bar on the right side of the message to enter the Details - Manage Recipient page.
- Select one or more recipients in the list, click the “More” button at the top of the list, and select the “Disable” menu item in the drop-down menu to bring up the action confirmation dialog.
- Click “OK” button to complete the operation.
Delete Recipient
This function is used to delete the recipient in the reception management.
Delete
- On the notification topic page, click the “Manage Recipient” button in the action column on the right side of the message to enter the Details - Manage Recipient page.
- Click the “More” button on the right-hand column, and select the “Delete” menu item to bring up the action confirmation dialog.
- Click the “OK” button to complete the operation.
Batch Delete
- On the notification topic page, click the “Manage Recipient” button in the action bar on the right side of the message to enter the details-receive management page.
- Select one or more recipients in the list, click the “More” button at the top of the list, and select the drop-down menu “Delete” menu item to bring up the operation confirmation dialog.
- Click the “OK” button to complete the operation.
Enable Notification Topic
This function is used to enable the “disabled” status of messages. When a message is disabled, all recipients under the message will not be notified of the message corresponding to the resource.
Single Enable
- On the notification topic page, click the “Enable” button in the action bar to the right of the message in the “Disabled” state to bring up the action confirmation dialog.
- Click the “OK” button to complete the operation.
Batch Enable
- Select one or more messages on the message subscription page and click the “Enable” button at the top of the list to bring up the operation confirmation dialog box.
- Click the “OK” button to complete the operation.
Disable Notification Topic
This function is used to disable the messages in the “enabled” state. When a message is disabled, all recipients under the message will not be notified of the message corresponding to the resource.
Individually Disable
- On the notification topic page, click the “Disable” button in the action bar to the right of the enabled message to bring up the action confirmation dialog.
- Click the “OK” button to complete the operation.
Batch Disable
- Select one or more messages on the message subscription page and click the “Disable” button at the top of the list to bring up the action confirmation dialog box.
- Click the “OK” button to complete the operation.
View Notification Topic Details
This function is used to view the details of messages.
- On the notification topic page, click the message name item to enter the message subscription details page.
- View the following information.
- Details: including ID, message name, name, message type, enable status, creation time, and update time.
- Resource list: Used to display the resource types for sending this message.
View Operation Log
This function is used to view the operation logs related to message subscriptions.
- On the notification topic page, click the message name item to enter the message subscription details page.
- Click the Operation Log tab to enter the Operation Log page.
- Load More Logs: In the Operation Logs page, the list shows 20 operation logs by default. To view more operation logs, please click the “Load More” button to get more logs.
- View Log Details: Click the “View” button on the right column of the operation log to view the log details. Copy details are supported.
- View logs of specified time period: If you want to view the operation logs of a certain time period, set the specific date in the start date and end date at the top right of the list to query the log information of the specified time period.
- Export logs: Currently, only the logs displayed on this page are supported to be exported. Click the upper-right corner of
 icon, set the export data column in the pop-up export data dialog, and click the “OK” button to export the logs.