EIP
EIP (Elastic IP) is a type of NAT IP that enables communication between a server and the public network by binding to a server and NAT mapping the EIP to the private address of the server. An EIP can only bind one server.
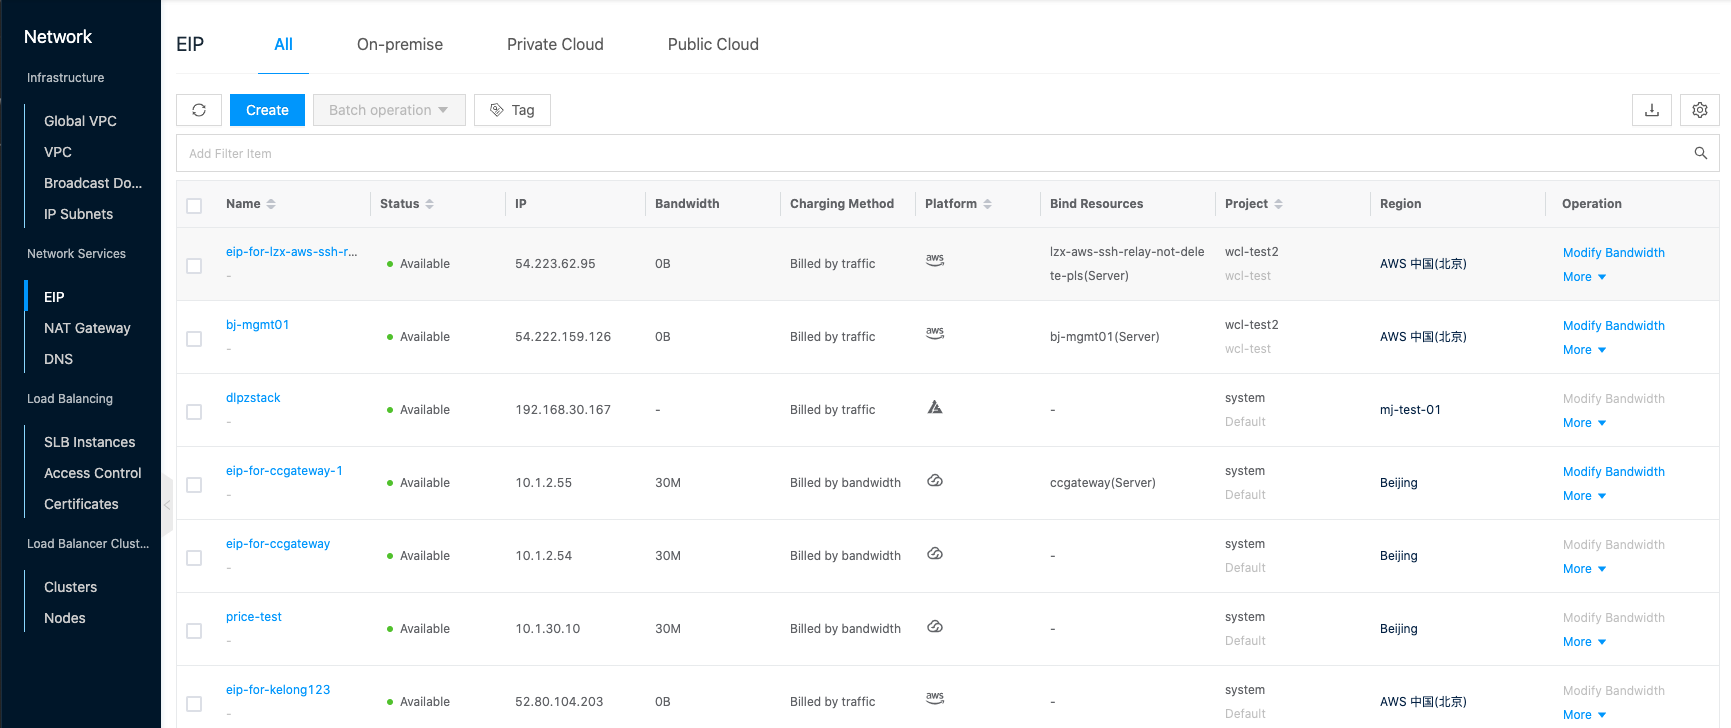
Entry: In the cloud management platform, click the top left corner of  navigation menu, and click “Network/Network Services/EIP” menu item in the left menu bar that pops up to enter the EIP page.
Create EIP
This function is used to create an EIP.
Description
On the Create EIP page, you can click the “On-premise”, “Private Cloud”, and “Public Cloud” tabs at the top to switch between creating Elastic Public IPs on different platforms.
Create EIP for On-premise
Before creating EIP for On-premise, please make sure you have created an IP subnet of EIP type.
- On the EIP page, click the “All” or “On-premise” tab at the top, and click the “Create” button at the top of the list to enter the Create On-premise EIP page.
- Configure the following information.
- Specify Project: Specify the project that the EIP belongs to when creating EIP.
- Region: Select the region to which the EIP belongs.
- Name: Set the name of the elastic public network IP.
- Line Type: You can filter IP subnets according to line type to create EIP of specified line type. default line type is empty, that is, do not follow up the line type to filter IP subnets, and will randomly assign EIP from all IP subnets of EIP type.
- Specify IP subnet: Select VPC (only default VPC is supported) and IP subnet, if you want to specify static IP, click “Configure IP manually” button to set IP address, click “OK” button.
- Billing type: Currently, only per-bandwidth billing is supported.
- Bandwidth Peak: Set the maximum bandwidth supported by the EIP.
- Click the “OK” button to complete the operation.
Create Private Cloud Platform EIP
Before creating Private Cloud Platform EIP, please ensure that you have a cloud account of the corresponding platform.
- On the EIP page, click the “Private Cloud” tab at the top, and click the “Create” button at the top of the list to enter the Create Private Cloud Platform EIP page.
- Configure the following information.
- Specify Project: Specify the project to which the EIP belongs when creating EIP.
- Region: Select the region to which the EIP belongs. The region can be used to determine the platform to which the private cloud belongs and the private cloud cloud account to which the disk is created.
- Name: Set the name of the EIP.
- Specify IP subnet: Select VPC and IP subnet. If you want to specify static IP, click “Configure IP manually” button to set IP address and click “OK” button.
- Click the “OK” button to complete the operation.
Create Public Cloud Platform EIP
Before creating public cloud platform EIP, please ensure that you have a cloud account for the corresponding platform.
- On the EIP page, click the “Public Cloud” tab at the top, and click the “Create” button at the top of the list to enter the Create Public Cloud Platform EIP page.
- Configure the following parameters.
- Specify Project: Specify the project to which the EIP belongs when creating EIP.
- Region: Select the region to which the EIP belongs. You can filter the appropriate region by city and platform quickly.
- Name: Set the name of the EIP.
- Billing type: You can select billing by traffic or billing by fixed bandwidth.
- Billed by traffic: charge by actual transmission flow, which can limit the peak bandwidth to avoid the cost of unexpected traffic, and will drop packets when the instantaneous bandwidth exceeds the value, suitable for the occasion of large network fluctuation.
- Billed by bandwidth: billing by transmission rate, choose a fixed bandwidth, will drop packets when the bandwidth exceeds the value, suitable for scenarios where the network fluctuates less.
Note
- Elastic public IP for AWS, Azure, and Google platforms only support billed by traffic.
- The public cloud platform’s EIP will be charged hourly for EIP when it is not bound to a server after it is created, and will not charge for EIP after it is bound to a server, only for bandwidth and traffic.
- Bandwidth: Set the maximum bandwidth supported by the EIP.
- Cloud Subscription: Specify the cloud subscription for creating EIP.
- Click the “OK” button to complete the operation.
Modify Bandwidth
This function is used to modify the bandwidth of the EIP.
Note
- Before modifying the bandwidth, the EIP needs to be bound to a server.
- The EIP of the private cloud platform does not support setting the bandwidth.
- On the EIP page, click the “Modify Bandwidth” button on the right column of the EIP to bring up the Modify Bandwidth dialog box.
- Modify the bandwidth value and click the “OK” button.
Bind
Bind the EIP to the server so that the server can communicate with the public network. The EIP and the server need to belong to the same project in the same region to bind.
Note
Elastic public IPs of private cloud platforms cannot bind servers under the same IP subnet.
- On the EIP page, click the “More” button on the right action bar of EIP, and select the drop-down menu “Bind” menu item to bring up the Bind dialog box.
- Select the server, the server drop-down box displays a list of all servers that can be bound to this EIP, click the “OK” button.
Unbind
This function is used to unbind the EIP from the server, and the unbinded EIP can be assigned to other servers.
- On the EIP page, click the “More” button on the right column of EIP, and select the “Unbind” menu item to bring up the Unbind Confirmation dialog box.
- Click “OK” button to complete the operation.
Sync Status
This function is used to get the current status of the resilient public IP.
Sync Status.
- On the EIP page, click the “More” button in the operation bar on the right side of the EIP, and select the drop-down menu “Sync Status” menu item to synchronize the status of the EIP.
Batch Sync Status.
- Check one or more Elastic Public IPs in the EIP list, click the**_“Batch Action”_** button at the top of the list, and select the drop-down menu **_“Sync Status”_** menu item to synchronize the status in batch.
Change Project
The project is the owner of the resource, and users can change the project to which the resilient public IP belongs according to their needs. Only the members in the project can use the EIP resources in the project they belong to.
- On the EIP page, click the “More” button on the right action bar of EIP, and select the drop-down menu “Change Project” menu item to bring up the Change Project dialog box.
- Set the item information and click “OK” button.
Delete EIP
This function is used to delete the EIP. The EIP bound with the server does not support deletion, please unbind it and then perform the deletion operation.
Delete
- On the EIP page, click the “More” button on the right side of the EIP, select the “Delete” menu item, and the operation confirmation dialog box will pop up.
- Click the “OK” button to complete the operation.
Batch Delete
- Select one or more Elastic Public IPs in the EIP list, click the**_“Batch Action”_** button at the top of the page, select the drop-down menu **_“Delete”_** menu item, and the operation confirmation dialog box pops up.
- Click the “OK” button to complete the operation.
View EIP Details
This function is used to view the detailed information of the EIP.
- Click the specified EIP name item to proceed to the EIP details page.
- The menu item at the top of the detail page supports the operations of binding, unbinding, modifying bandwidth, changing items, deleting, etc. for the EIP card.
- View the Cloud ID, ID, name, status, domain, item, user tag, platform, bound resource, line type, IP address, bandwidth, billing method, region, zone, cloud account, cloud subscription, created at, updated at, notes, etc. of the EIP.
View Operation Log
This function is used to view the log information of EIP related operations.
- On the EIP details page, click the “Operation Log” tab to enter the Operation Log page.
- Load More Logs: In the Operation Logs page, the list shows 20 operation logs by default. To view more operation logs, please click the “Load More” button to get more log information.
- View Log Details: Click the “View” button on the right column of the operation log to view the log details. Copy details are supported.
- View logs of specified time period: If you want to view the operation logs of a certain time period, set the specific date in the start date and end date at the top right of the list to query the log information of the specified time period.
- Export logs: Currently, only the logs displayed on this page are supported to be exported. Click the upper-right corner of
 icon, set the export data column in the pop-up export data dialog, and click the “OK” button to export the logs.