Access Groups
The Access Group is used to set the specified IP address or network segment to access the file system, and grant different access privileges to different IP addresses or network segments. When adding mount points to the file system, you need to select the Access Group.
Initially, each AliCloud account will automatically generate a default access group, which allows any IP address to access the file system with the highest privilege (read/write and without limiting the access rights of Linux system users to the file system). The default access group does not support deletion or modification. An Aliyun account can create up to 10 access groups, and a access group supports adding up to 300 rules. That is, the Default access group syncd down from the AliCloud platform does not support deletion.
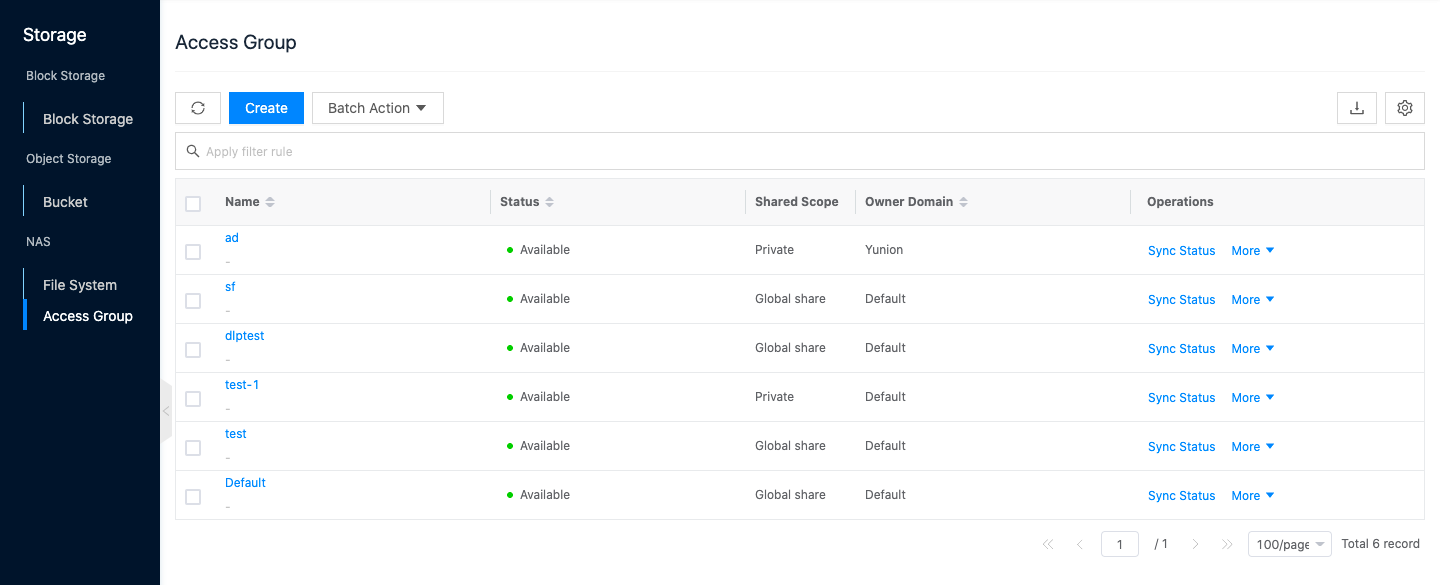
Entry: In the cloud management platform click the top left corner navigation menu, and click “Storage/NAS/Access Group” menu item in the left menu bar that pops up to enter the Access Group page.
Create a new access group
This function is used to create a new access group.
- In the NAS access group page, click “Create” button at the top of the list to bring up the NAS access group dialog box.
- Set the access group name and click the “OK” button to complete the operation.
Sync Status
This function is used to sync the status of Access Groups.
- On the Access Group page, click the “Sync Status” button on the right operation column of the access group to sync the Access Group.
Delete Permission Group
This function is used to delete access groups. The default access groups synced from AliCloud do not support deletion. The used access groups are not supported to be deleted.
Single delete
- In the Access Group page, click the “More” button on the right operation column of the access group, select the drop-down menu “Delete” menu item, and the operation confirmation dialog box pops up.
- Click the “OK” button to complete the operation.
Batch Delete
- Select one or more access groups in the Access Group list, click the “Batch Action” button at the top of the list, select the drop-down menu “Delete” menu item, and the operation confirmation dialog box pops up.
- Click the “OK” button to complete the operation.
View Permission Group Details
This function is used to view the details of access groups.
- On the Access Group page, click the name item of the Access Group to enter the Access Group details page.
- View the basic information, including Cloud ID, ID, name, status, tenant, item, user tag, share range, create at, update at, and description.
Access Group rule management
This function is used to manage the rules of Access Groups. The default access groups synced down from AliCloud do not support new, modified, or deleted rules.
Create Access Group rules
This function is used to create new Access Group rules.
In the Access Group page, click the name of the Access Group to enter the Access Group details page. 2. Click the Access Group rules tab to enter the Access Group rules page. 3. Click the “Create” button at the top of the list to bring up the Create Access Group rules dialog box. 4. Set the following parameters. - Authorization address: Set the IP address or IP range for authorized access to the file system, you can check any IP, i.e. 0.0.0.0/0. If the access group is used for classic network mount point, the authorization address can only set a single IP address. - Read/Write permission: Allow the authorized address to perform read-only operation or read/write operation on the file system, etc. - User rights: Set the access rights of the Linux system user in the authorized address to the file system, the SMB file system does not support this permission item, and the configuration does not take effect. nobody user is the default user of the Linux system, and can only access the public content on the server, with low privileges and high security features. - All users not anonymous: Allows access to the file system with the root user. - root user anonymous: Mapping nobody user when accessing as root user. - All users anonymous: Mapping nobody user regardless of access as user. - Priority: When the same authorized address matches multiple rules, the rule with higher priority takes effect, you can choose an integer from 1 to 100, 100 priority is the largest, when synchronizing the rules of the platform to Aliyun, the priority will be converted. 5. Click “OK” button to finish the operation.
Edit Access Group rules
This function is used to modify Access Groups.
- On the Access Group page, click the name item of the Access Group to enter the Access Group details page.
- Click the Access Group rules tab to enter the Access Group rules page.
- Click the “Edit” button on the right column of the rule to bring up the Edit Access Group rule dialog box.
- Set the following parameters.
- Authorization address: Set the IP address or IP range that is authorized to access the file system, you can check any IP, i.e. 0.0.0.0/0. If the access group is used for classic network mount point, the authorization address can only set a single IP address.
- Read/Write permission: Allow the authorized address to perform read-only operation or read/write operation on the file system, etc.
- User rights: Set the access rights of the Linux system user in the authorized address to the file system, the SMB file system does not support this permission item, and the configuration does not take effect. nobody user is the default user of the Linux system, and can only access the public content on the server, with low privileges and high security features.
- All users not anonymous: Allows access to the file system with the root user.
- root user anonymous: Mapping nobody user when accessing as root user.
- All users anonymous: Mapping nobody user regardless of access as user.
- Priority: When the same authorized address matches multiple rules, the rule with higher priority takes effect, you can choose an integer from 1 to 100, 100 priority is the largest, when synchronizing the rules of the platform to Aliyun, the priority will be converted.
- Click “OK” button to complete the operation.
Delete Access Group rules
This function is used to delete Access Group rules.
Individual delete
- On the Access Group page, click the name item of the Access Group to enter the Access Group details page.
- Click the Access Group rules tab to enter the Access Group rules page.
- Click the “Delete” button on the right column of the rule to bring up the Delete Access Group rule confirmation dialog box.
- Click the “OK” button to complete the operation.
Batch Delete
- On the Access Group page, click the name item of the Access Group to enter the Access Group details page.
- Click the Access Group rules tab to enter the Access Group rules page.
- Select one or more authorized addresses in the rule list, and click the “Delete” button at the top of the list to bring up the Delete Access Group rule confirmation dialog box.
- Click the “OK” button to complete the operation.
Access Group Cache
Access Group caching means that Access Groups used by file system mount points will be cached on the corresponding public cloud platform. One Access Group on the public cloud corresponds to one cache on the OneCloud platform.
Sync status
This function is used to sync Access Group information
- In the Access Group page, click the name of the Access Group to enter the Access Group details page.
- Click the Access Group cache tab to enter the Access Group cache page. Click the “Sync Status” button on the right column of the cache to sync the Access Group information.
Delete Access Group Cache
This function is used to delete the Access Group on the corresponding public cloud platform by deleting the cache.
- On the Access Group page, click the Access Group name item to enter the Access Group details page.
- Click the Access Group cache tab to enter the Access Group cache page.
- Click the “Delete” button in the action column on the right side of the cache to bring up the Delete Access Group cache confirmation dialog box.
- Click the “OK” button to complete the operation.
View Operation Log
This function is used to view the log information of the operations done for the Access Group.
- On the Access Group page, click the name item of the Access Group to enter the Access Group details page.
- Click the Operation Log tab to enter the Operation Log page.
- Load More Logs: In the Operation Logs page, the list shows 20 operation logs by default, if you want to view more operation logs, please click “Load More” button to get more logs.
- View Log Details: Click the “View” button on the right column of the operation log to view the log details. Copy details are supported.
- View logs of specified time period: If you want to view the operation logs of a certain time period, set the specific date in the start date and end date at the top right of the list to query the log information of the specified time period.
- Export logs: Currently, only the logs displayed on this page are supported to be exported. Click the upper-right corner of
 icon, set the export data column in the pop-up export data dialog, and click the “OK” button to export the logs.