Configure Projects & Users
The OneCloud platform divides resources by project, and infrastructure resources can be allocated to users of different projects through projects, and supports setting quotas for projects, etc. The user itself has no ownership to the resources, and needs to be added to the project in order for the user to access the resources in the project. A user’s permissions in a project are determined by the role that the user uses to join the project, that is, a RBAC (role-based access control) mechanism is implemented. The OneCloud platform has built-in common roles and defines system permissions for the platform by default, and users can customize roles and permissions when they do not meet their needs. For details, please see Create Policy and Create Role.
Create projects
The project is the owner of the virtual resources, i.e. the virtual resources in the platform (e.g. servers, disks, networks) need to be attributed to the project.
-
In the cloud management platform, click on the top left corner of
 navigation menu, and click " IAM & Security/IAM/Projects" menu item in the left menu bar that pops up to enter the project page.
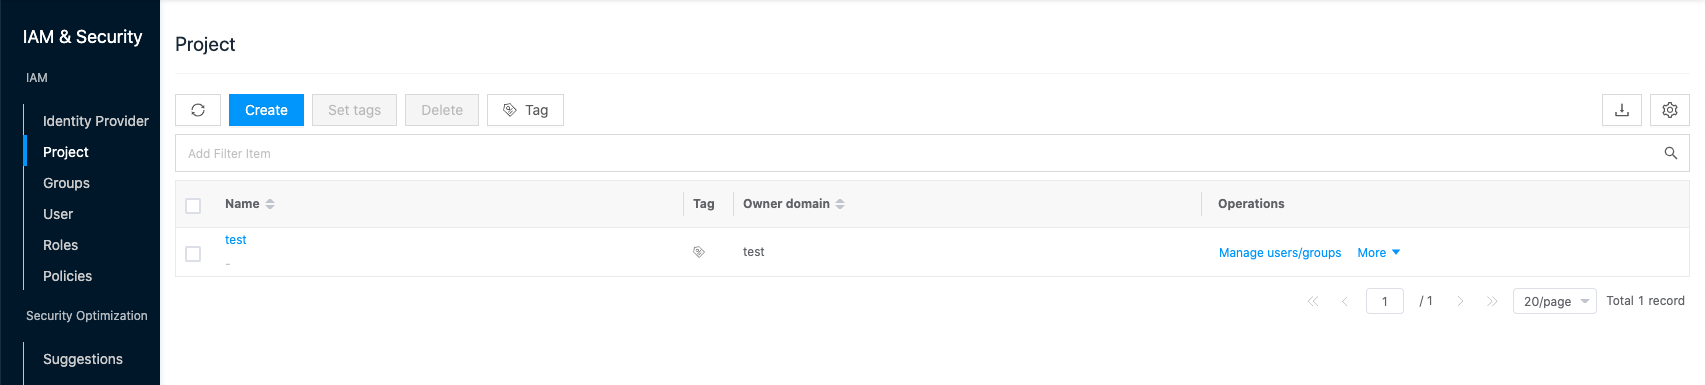
-
Click the “Create” button at the top of the list to enter the Create Project page.
-
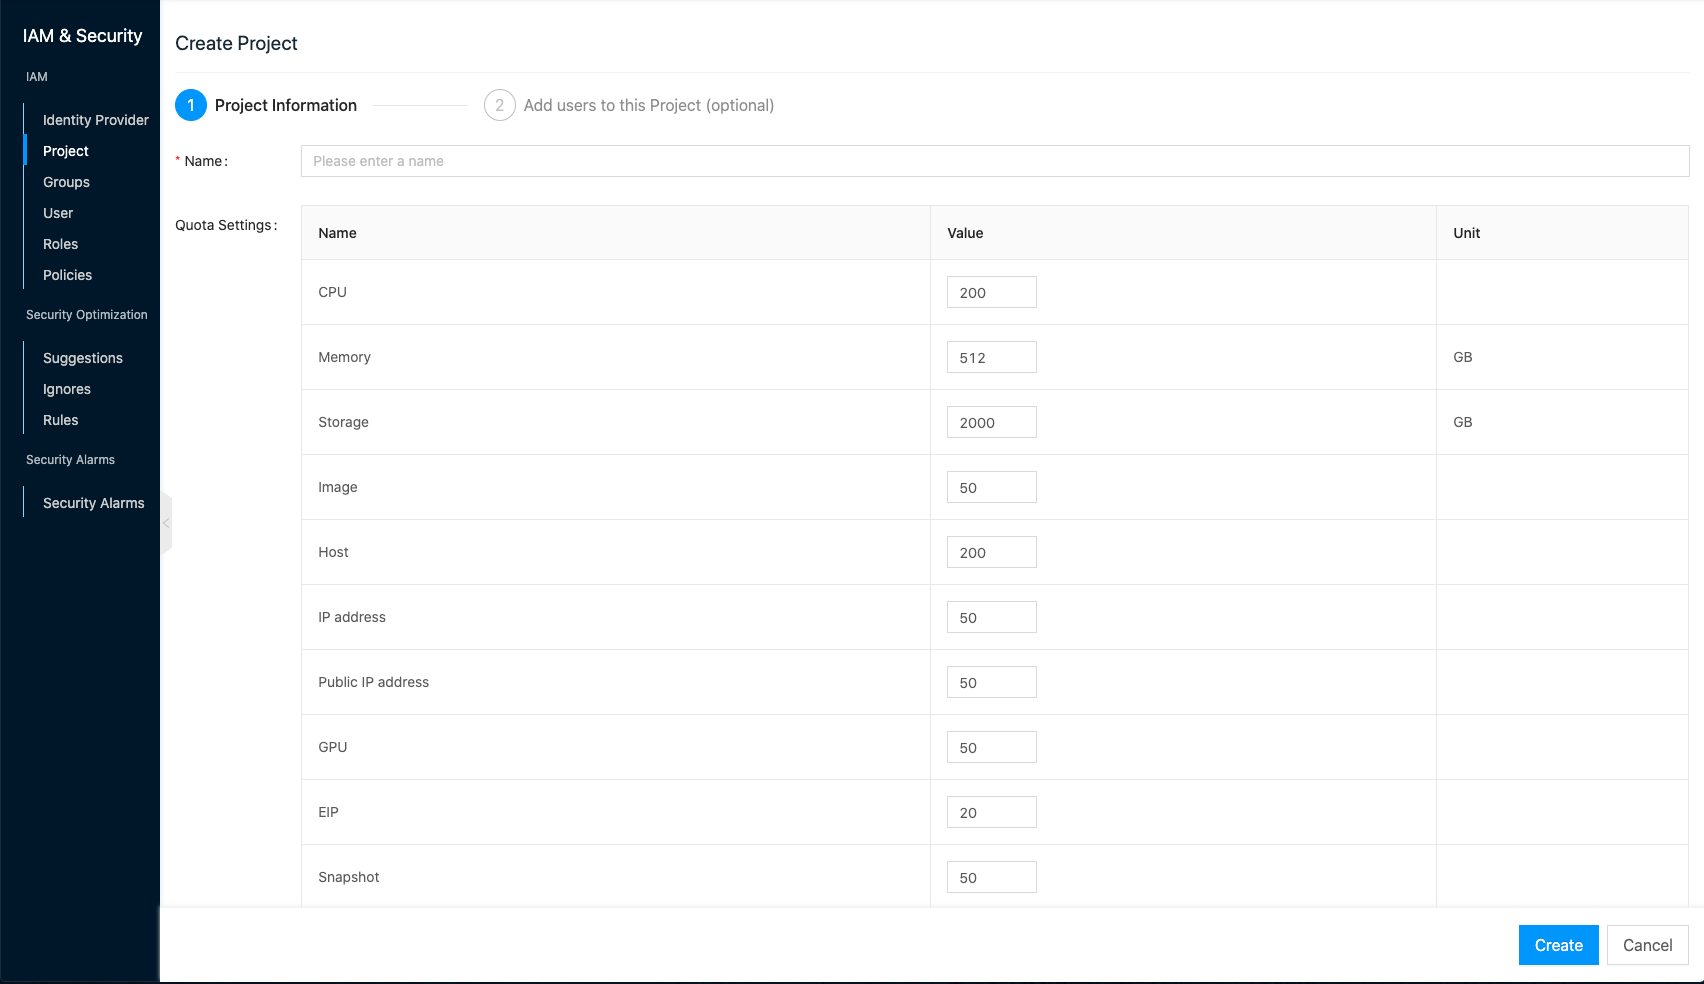
Set the name of the project and the project quota, and click the “OK” button.
-
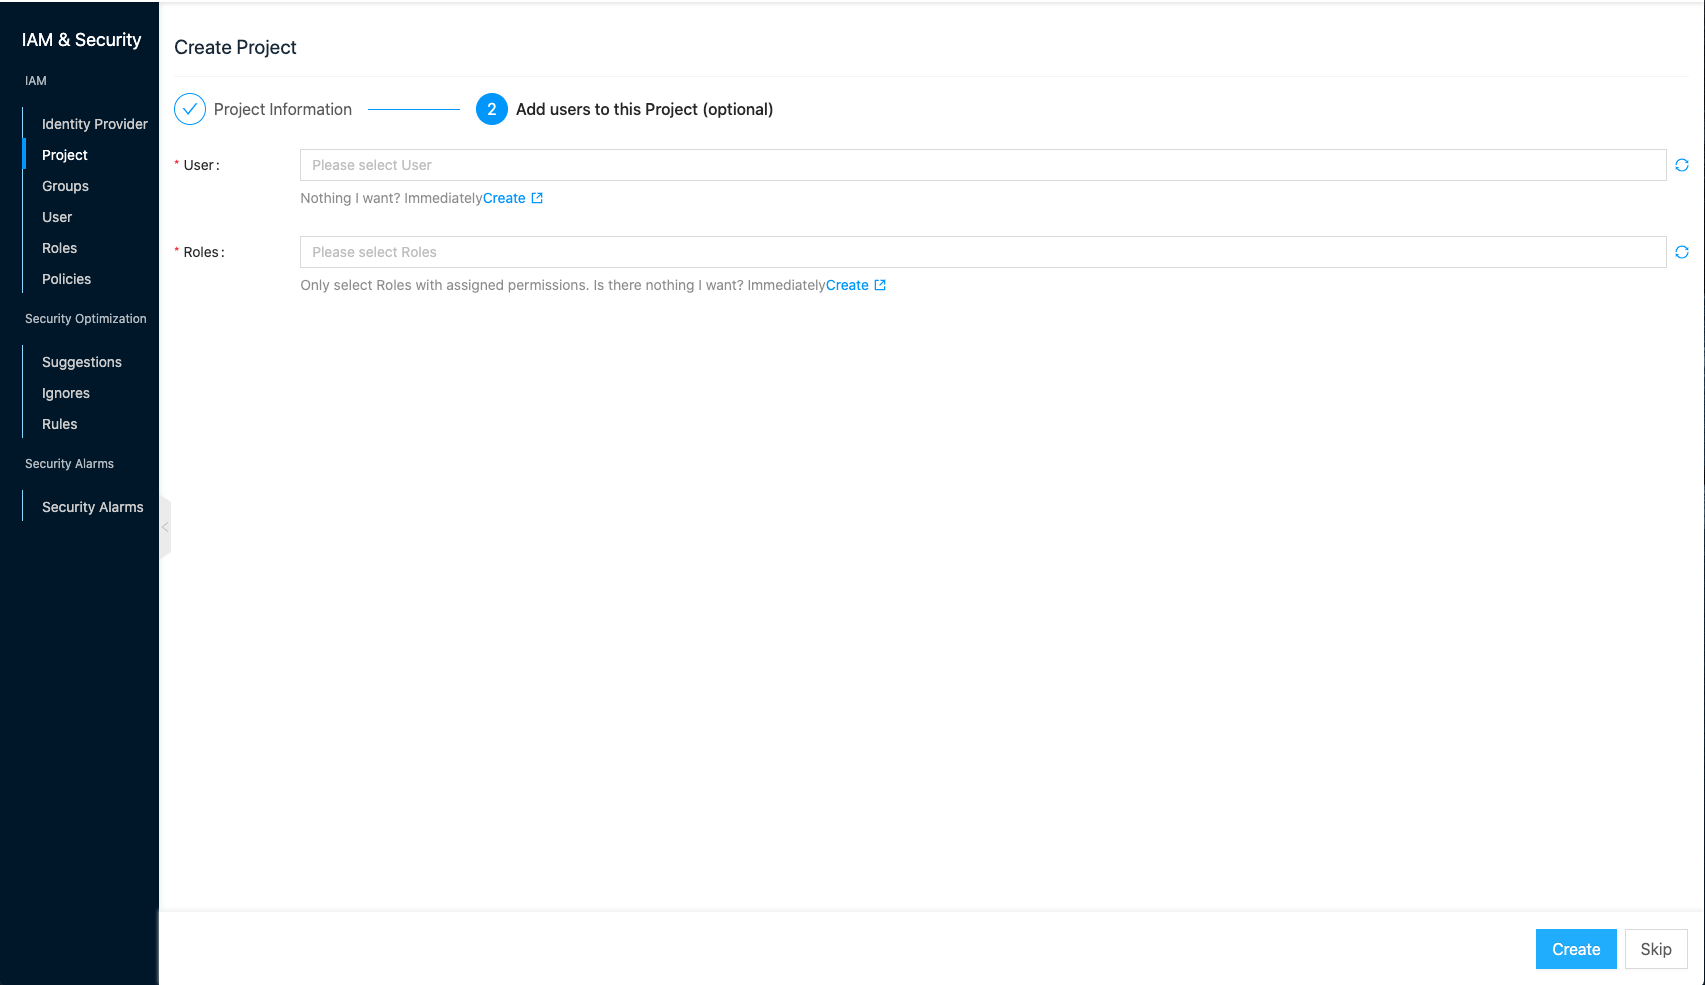
If users and roles that meet the requirements already exist on the platform, you can add the users to the project directly. Configure the following parameters.
- User: Select the users to join the project, and support batch selection of multiple users. Select users in the project domain, if the project belongs to default domain, users can select users in all domains in the system.
- Role: Set the role when users join the project, different roles have different privileges. Select the role in the project’s domain or the role in other domains with shared status, and the role has bound permissions.
-
If there are no users and roles that meet the requirements at the moment, click the “Skip” button directly and add the users to the project after the users and roles are created later.
Add Users to Projects
The OneCloud platform supports two ways to add users to a project.
- In the user page, add a project for the user; this action can add multiple projects for the user.
- In the project page, add users to a project; this action allows you to add users with the same role permissions to a project in batch.
The administrator can choose the way to add users to the project according to the actual needs.
Users join the project
-
In the cloud management platform, click on the top left corner of
navigation menu, and click " IAM & Security/IAM/Users" menu item in the left menu bar that pops up to enter the users page.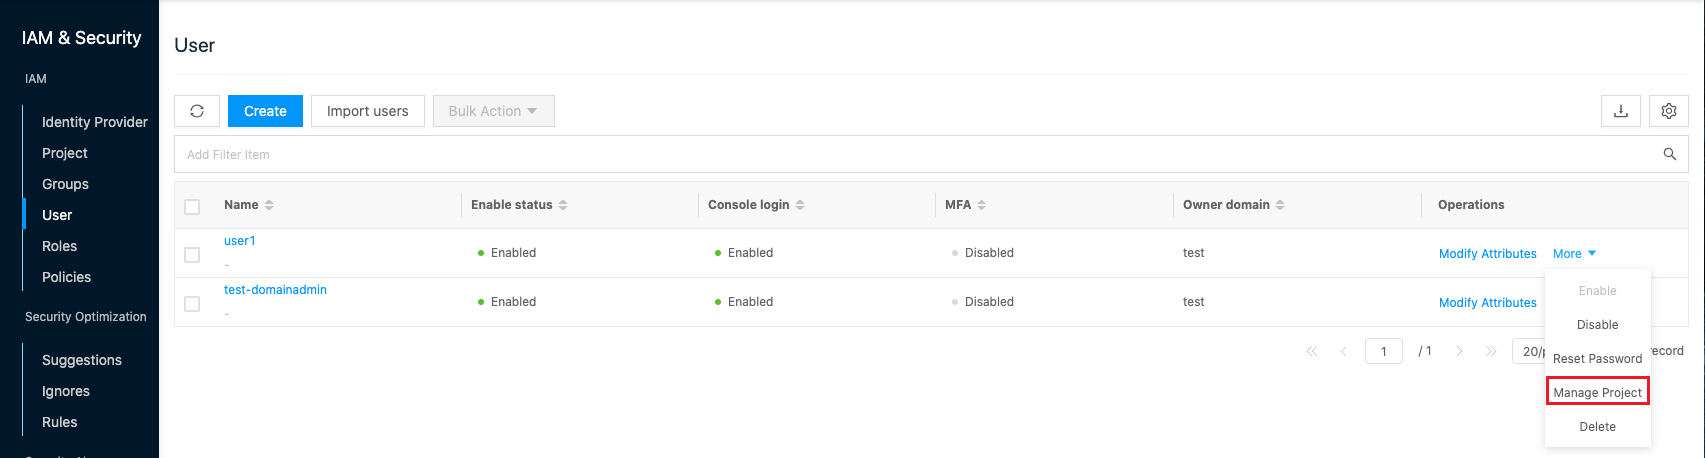
-
On the user page, click the “More” button in the action bar to the right of the user, and select the “Manage Projects” menu item to enter the Details - Added Projects page.
-
Click the “Join Project” button at the top of the list to bring up the Join Project dialog box.
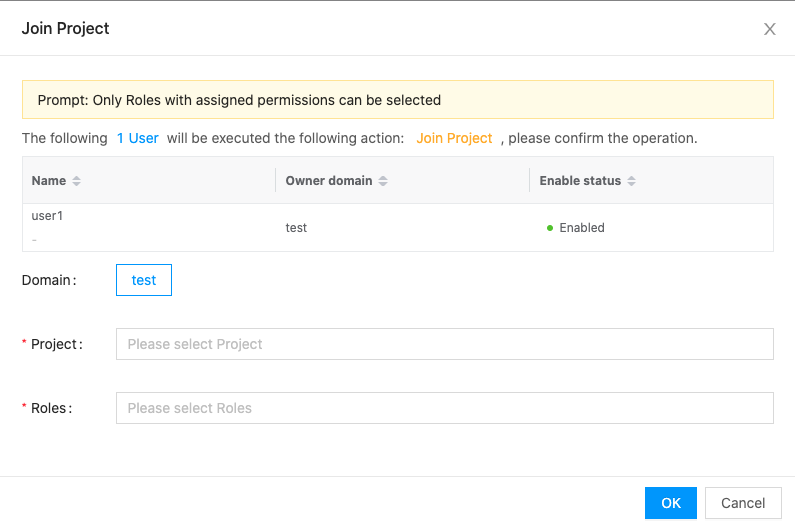
-
Select the domain, project, role, and click the “OK” button to add the user to the project with the specified role.
Project Adding Users
-
In the cloud management platform, click on the top left corner of
navigation menu, and click " IAM & Security/IAM/Projects" menu item in the left menu bar that pops up to enter the project page.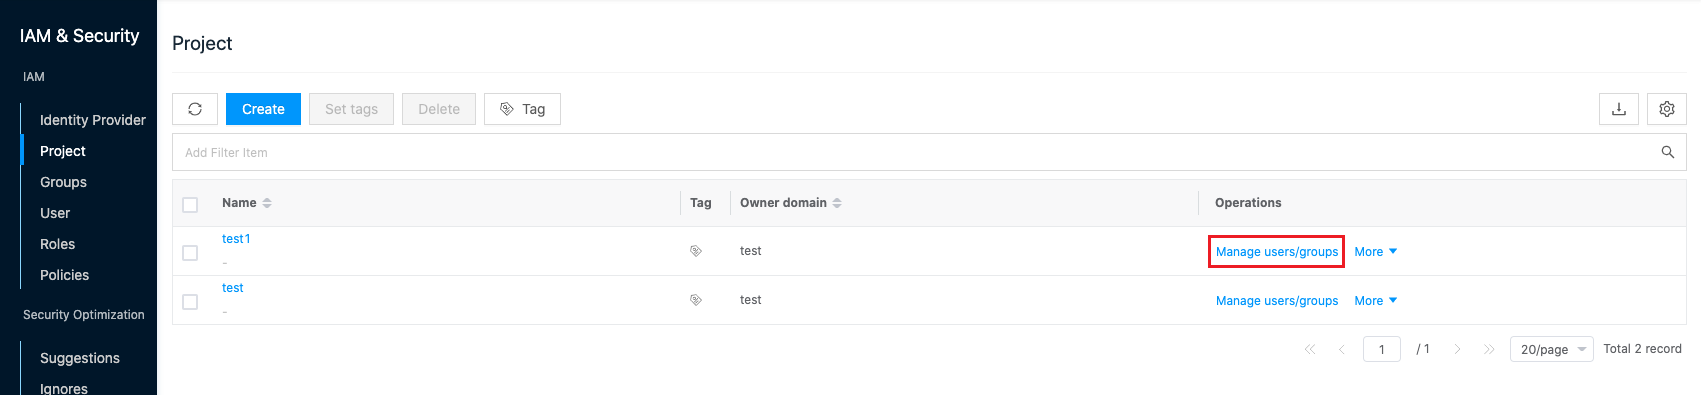
-
Click the “Manage users/groups” button in the action bar on the right side of the project to enter the joined users/groups page.
-
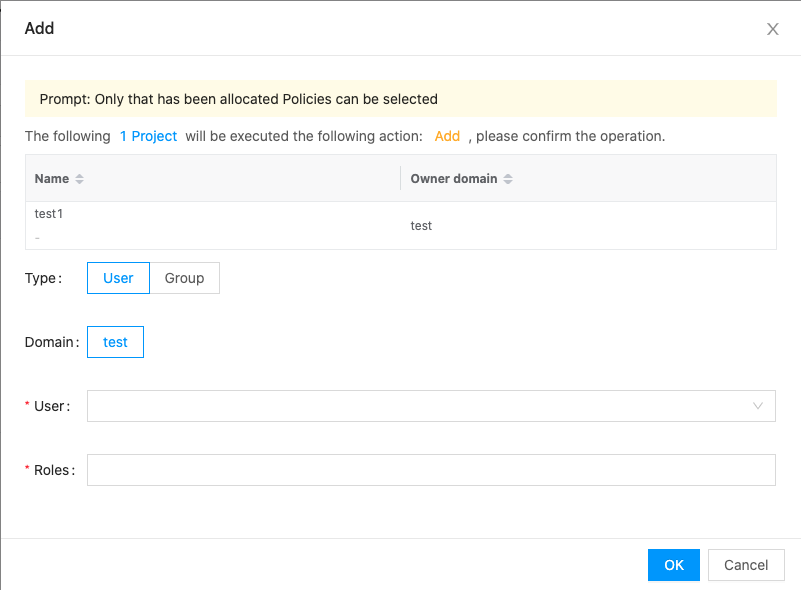
Click the “Add” button at the top of the list to bring up the Add dialog box.
-
Configure the following parameters.
- Type: Select user or group.
- User/Group: Select the user or group in the domain where the project is located. If the project belongs to the default domain, the user can select the users in all domains in the system.
- Role: Select the role in the domain where the project is located or the role with shared status in other domains, and the role has bound permissions.
-
Click the “OK” button to complete the operation.