App Market
The Application Marketplace displays application packages from the Helm repository, similar to apt’s Deb package or yum’s RPM package, with the yaml file defining the resource application included in the package. Make sure you have added the corresponding type of Helm repository before deploying your application in the app marketplace. The OneCloud platform implements Server orchestration in the form of Helm repositories for quick deployment of Server applications.
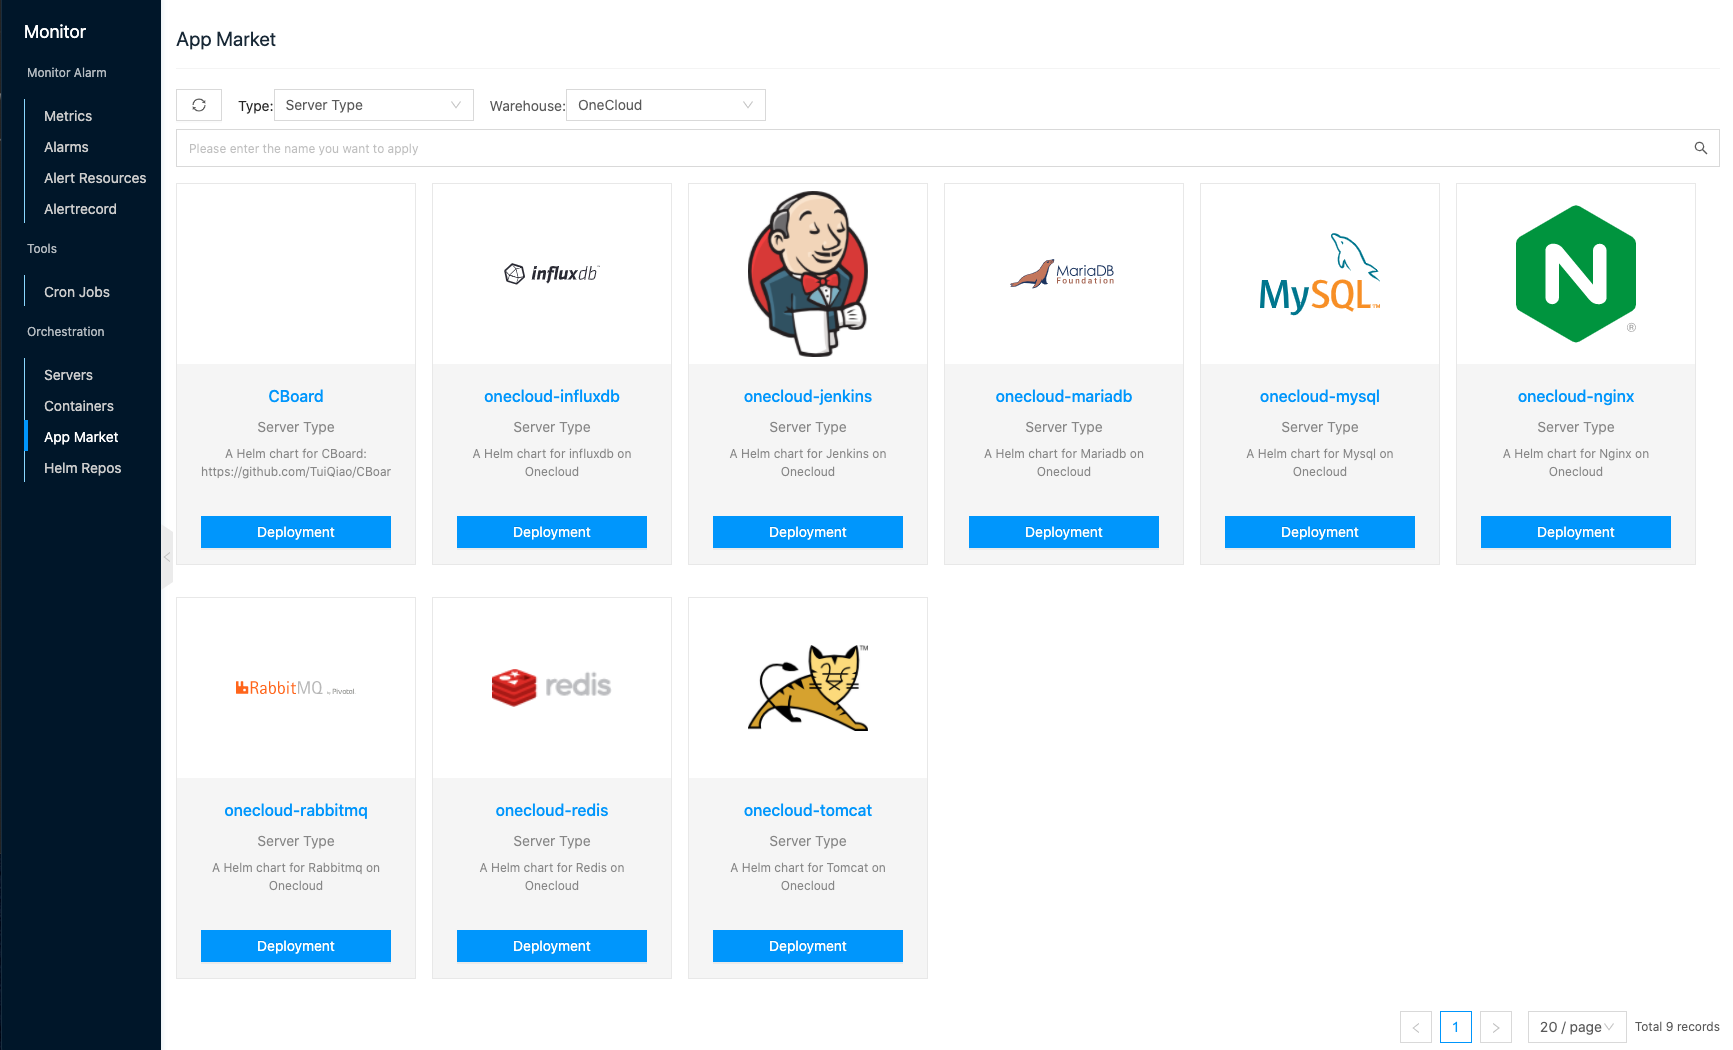
Entry: In the cloud management platform click on the top left corner of  navigation menu, and click “Monitor/Orchestration/App Market” menu item in the left menu bar that pops up to enter the application market page.
Helm related concepts
Helm is a package management tool for Kubernetes, somewhat similar to “apt-get” and “yum” in Linux OS, please see Helm official documentation.
Helm helps application developers package applications to handle dependencies, manage applications and publish to repositories. Helm users do not need to understand the Kubernetes yaml syntax to write complex configuration files and can easily deploy Kubernetes applications via Helm.
- Helm: Helm is a command-line client tool. It is mainly used for Kubernetes application Chart creation, packaging, publishing, and creating and managing local and remote Chart repositories.
- Chart: Helm’s package in TAR format. Similar to APT’s DEB package or YUM’s RPM package, it contains a set of yaml files defining Kubernetes resources.
- Release: Chart for deployment in a Kubernetes cluster using Helm.
Deploy Server Instance
This feature is used to quickly deploy Server instance applications in the Server type application marketplace. The deployed Server instance application is available in for management.
Please import “CentOS-7.6.1810-20190430.qcow2” in the image marketplace before deploying servers. Otherwise, the server instance cannot be created successfully.
- On the App Market page, select “Server Type” as the type, and select the corresponding repository name. When there are many applications, please set the application name in the search input box to search. Click the “Deployment” button on the application module to enter the deploy application page.
- Configure the following information.
- Name: The name of the application release.
- Store-Template Version: Select the version of the application template in the store.
- Resource Attribution Project: Select the project to which the server instance to which the application is deployed belongs.
- Form Configuration.
- Platform: Select the platform to which the Server instance belongs.
- Region: Select the region where the server instance is located.
- Availability Zone: Select the zone where the server instance is located.
- VPC: Select the VPC where the server instance is located.
- Network: Select the IP subnet to which the server instance belongs. When you select the IP subnet of the OneCloud platform VPC network, an EIP will be automatically created for the server.
- Package: Select the package for the Server instance, through which you can determine the CPU and memory configuration, etc.
- Storage Type: Select the storage type of the disk.
- Disk Size: Set the capacity size of the disk.
- Application Configuration: Different application configuration, please set it according to the actual situation.
- InfluxDB database name: Set the name of InfluxDB data.
- InfluxDB database address: Used to monitor the data upload channel. OneCloud platform’s InfluxDB is deployed on the control node in the format of https://控制节点IP地址:30086.
- Detailed description: Used to view detailed information about the application.
- YAML Template: supports previewing information about the application’s template file.
- Click the “OK” button to jump to the Server Instance page.
- The deployment process will create the server first before deploying the application.
- The Server instance status means as follows.
- Created successfully: It means that the server has been created successfully, but the application has not been deployed.
- Deployed: It means that the deployment orchestration is submitted to the Etcd of Kubernetes and the deployment of the application is started.
Deploy Container Instance
This feature is used to quickly deploy container applications in the container type application marketplace. Deploymented container instance applications are available in container-instance for management.
- On the Application Marketplace page, select “Container Type” as the type and select the corresponding repository name.
- When there are many applications, please set the application name in the search input box to search. Click the “Deployment” button on the application module to enter the deploy application page.
- Configure the following information.
- Name: The name of the application release.
- Store-Template Version: Select the version of the application template in the store.
- Cluster: Select the cluster where the application is to be deployed.
- Namespace: Select the namespace.
- Form Configuration: Support supplementing parameters or making changes to the configuration in the form of yaml files or key-value pairs.
- Detailed description: Used to view detailed information about the application.
- YAML Template: supports previewing the information of the application’s template file.
- Click the “OK” button to jump to the container instance page.
- The deployment process will deploy the container first and then deploy the application in the container.
- The container instance status means as follows.
- Created successfully: It means that the container has been created successfully, but the application has not been deployed.
- Deployed: means the deployment orchestration is submitted to the Etcd of Kubernetes and the deployment of the application is started.