Role
The role defines the permissions to the resources under the specified namespace of the cluster. Multi-cluster roles support associating roles to multiple clusters and creating roles with the same permissions in the specified cluster.
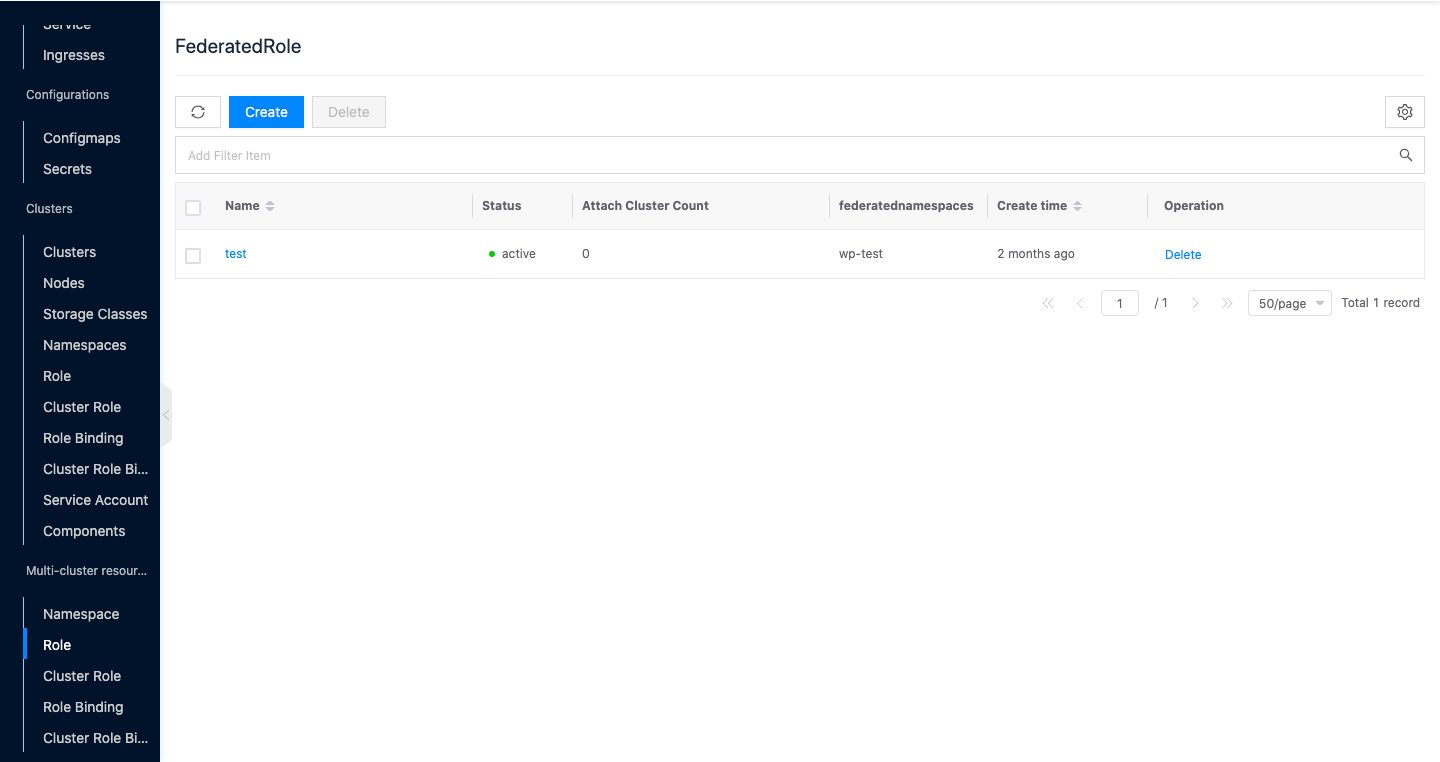
Entry: In the cloud management platform click on the top left corner of  navigation menu, and click “Containers/Multi-Cluster Resources/Roles” menu item in the left menu bar that pops up to enter the Roles page.
Create role
This function is used to create a new multicluster role. Before creating a multicluster role, please create a multicluster namespace.
- On the Roles page, click the “Create” button at the top of the list to enter the Create Role page.
- Set the following parameters.
- Name: Set the name of the role.
- Namespace: Select the multicluster namespace to which the role belongs.
- Resource Authorization: Click the “Add Resource” button to select the resource and set the permissions to the resource.
- Click the “OK” button to complete the operation.
Delete Role
This function is used to delete a role. When the role has been bound to a cluster, it cannot be deleted.
Individual deletion
- On the role page, click the “Delete” button in the action column on the right side of the role to bring up the action confirmation dialog.
- Click the “OK” button to complete the operation.
Batch Delete
- Select one or more roles in the list, and click the “Delete” button at the top of the list to bring up the operation confirmation dialog.
- Click the “OK” button to complete the operation.
View Role Details
This function is used to view the details of a role.
- On the Role page, click the role name item to enter the role details page.
- View the following information: Including Cloud ID, ID, name, domain, item, status, created at, updated at, and description.
View Rules
This function is used to view the rules matched by the role and supports deleting rules.
- On the Role page, click the role name item to enter the role details page.
- Click the “Rules” tab to enter the rules page.
- View the rule information of the role.
- Click the “Delete” button in the action column on the right side of the role to bring up the action confirmation dialog box.
- Click the “OK” button to complete the operation.
Bound Cluster Resource Management
This function is used to bind or unbind roles to the cluster.
Bound to cluster
This function is used to associate a role to a cluster and create a corresponding role on the corresponding cluster.
- On the Role page, click the role name item to enter the role details page.
- Click the Bound Cluster Resources tab to enter the Bound Resources page.
- Click the _Bind to Cluster button to bring up the Bind to Cluster dialog box.
- Select the cluster and click the “OK” button to complete the operation.
Unbind
This function is used to unbind the multi-cluster role to the cluster. Currently, the cluster will not delete the corresponding role after unbinding.
Description
If there is already a role with the same name in the bound cluster, it will overwrite the existing role.
- On the Roles page, click the role name item to go to the role details page.
- Click the Bound Cluster Resources tab to enter the Bound Resources page.
- Click the “Unbind” button on the right action bar of the cluster to bring up the action confirmation dialog.
- Click “OK” button to complete the operation.
View Operation Log
This function is used to view the operation logs related to multi-cluster roles.
- On the Role page, click the role name item to enter the role details page.
- Click the Operation Log tab to enter the Operation Log page.
- Load More Logs: In the Operation Logs page, the list displays 20 operation logs by default. To view more operation logs, click the “Load More” button to get more logs.
- View Log Details: Click the “View” button on the right column of the operation log to view the log details. Copy details are supported.
- View logs of specified time period: If you want to view the operation logs of a certain time period, set the specific date in the start date and end date at the top right of the list to query the log information of the specified time period.
- Export logs: Currently, only the logs displayed on this page are supported to be exported. Click the upper-right corner of
 icon, set the export data column in the pop-up export data dialog, and click the “OK” button to export the logs.