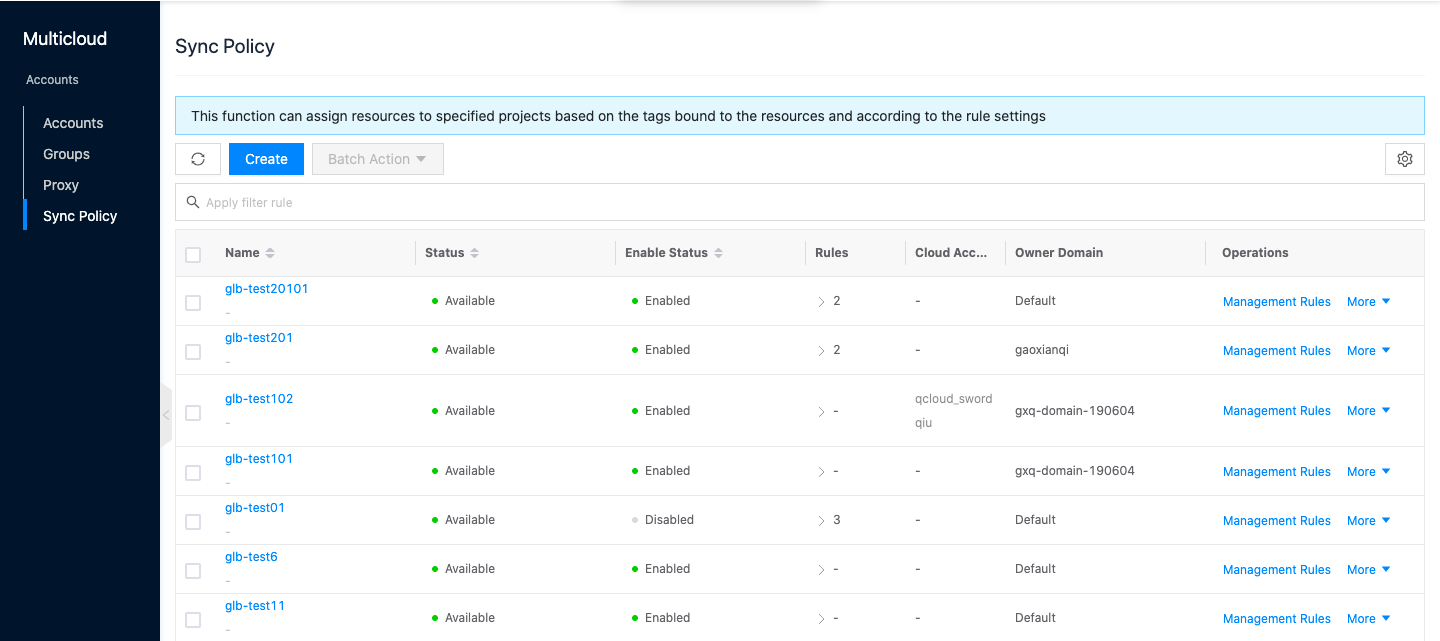
Sync Policy
Sync policy is to assign the resources under the public cloud to the specified projects according to the rules by setting the correspondence between the tags and the resource mapping items. The currently supported resources are all project resources with tags.
description
When project resources such as disk, snapshot, eip, etc. are bound to other resources, they will be synced to the corresponding project according to the tags on the other resources, and if the disk, snapshot, eip, etc. are not associated resources, they will be synced to the corresponding project according to the tags.
Entry: In the cloud management platform, click the top left corner of  navigation menu, and click “Multicloud/Accounts/Sync Policy” menu item in the left menu bar that pops up to enter the Sync Policy page.
Create Sync Policy
This function is used to create a new sync policy.
- On the Sync Policy page, click the “New” button at the top of the list to bring up the New Sync Policy dialog box.
- Configure the following parameters.
- Domain: Set the domain to which the sync policy belongs. This is only valid for cloud accounts (shared cloud accounts with this domain are not valid) and projects under the corresponding domain.
- Name: Set the name of the sync policy.
- Rules: Click the “Add Rule” button to start configuring the rules of the sync policy, and support adding multiple rules.
- Conditions: including when at least one of the following tags is matched and when all of the following tags are matched, that is, the tags used to determine the resource association need to meet one of the above conditions before the resources will be assigned to the corresponding mapping items.
- Tags: Set the specific tags, and support the selection of existing tags and new tags.
- Resource Mapping: Set the corresponding project, when the resource meets the above conditions, the resource will be assigned to the specified project.
- Application scope: Select the application scope supported by the sync policy, including cloud account and cloud subscription.
- Cloud account: When “Cloud account” is selected as the application scope, select the cloud account of the sync policy application, support multiple selections, and it only takes effect when the cloud account is synchronized.
- Cloud subscription: When “Cloud subscription” is selected as the application scope, select the cloud subscriptions of the sync policy application, which supports multiple selections and takes effect only when the cloud account is synchronized.
- Click the “OK” button to complete the operation.
Management Rules
This function is used to manage the rules under the sync policy.
Create Rule
This function is used to create a new rule.
- On the Sync Policy page, click the “Management Rules” button on the right column of the Sync Policy to enter the Details-Rules page.
- Click the “Create” button at the top of the list to bring up the New Rule dialog box.
- Configure the following parameters.
- Domain: Set the domain to which the sync policy belongs. This is only valid for cloud accounts (shared cloud accounts with this domain are not valid) and projects under the corresponding domain.
- Name: Set the name of the sync policy.
- Rules: Click the “Add Rule” button to start configuring the rules of the sync policy, and support adding multiple rules.
- Conditions: including when at least one of the following tags is matched and when all of the following tags are matched, that is, the tags used to determine the resource association need to meet one of the above conditions before the resources will be assigned to the corresponding mapping items.
- Tags: Set the specific tags, and support the selection of existing tags and new tags.
- Resource Mapping: Set the corresponding item, when the resource meets the above conditions, the resource will be assigned to the specified item.
- Click “OK” button to finish the operation.
Sorting
This function is used to set the priority of the rules, and the rules at the top of the list take effect first.
- On the Sync Policy page, click the “Management Rules” button on the right column of the sync policy to enter the Details-Rules page.
- Click the “Sort By” button at the top of the list, and you will see
 icon, drag and drop the icon to sort.
 - When the adjustment is done, click “Save” button to finish the operation.
Modify Rules
This function is used to modify the rules.
- On the Sync Policy page, click the “Management Rules” button on the right column of the Sync Policy to enter the Details - Rules page.
- Click the “Modify” button on the right action bar of the rule to bring up the Modify Rule dialog box.
- Configure the following parameters.
- Domain: Set the domain to which the sync policy belongs. This is valid only for cloud accounts (shared cloud accounts with this domain are not valid) and projects under the corresponding domain.
- Name: Set the name of the sync policy.
- Rules: Click the “Add Rule” button to start configuring the rules of the sync policy, and support adding multiple rules.
- Conditions: including when at least one of the following tags is matched and when all of the following tags are matched, that is, the tags used to determine the resource association need to meet one of the above conditions before the resources will be assigned to the corresponding mapping items.
- Tags: Set the specific tags, and support the selection of existing tags and new tags.
- Resource Mapping: Set the corresponding item, when the resource meets the above conditions, the resource will be assigned to the specified item.
- Click “OK” button to finish the operation.
Delete Rule
This function is used to delete a rule.
Delete Rule
- On the Sync Policy page, click the “Management Rules” button on the right column of the sync policy to enter the Details-Rules page.
- Click the “Delete” button on the right action bar of the rule to bring up the action confirmation dialog.
- Click “OK” button to complete the operation.
Batch Delete Rule
- On the Sync Policy page, click the “Management Rules” button on the right column of the Sync Policy to enter the Details-Rules page.
- Select one or more rules in the rule list, and click the “Delete” button at the top of the list to bring up the operation confirmation dialog box.
- Click the “OK” button to complete the operation.
Modify
This function is used to modify the cloud account associated with the sync policy.
- On the sync policy page, click the “More” button on the right column of the sync policy, and select the drop-down menu “Modify” button to bring up the Modify dialog box.
- Modify application scope, cloud account or cloud subscription, etc, Click the “OK” button to complete the operation.
Enable
This function is used to enable the sync policy in the “disabled” state, and the sync policy in the disabled state will not take effect when the associated cloud accounts are synchronized.
Enable
- On the Sync Policy page, click the “More” button on the right column of the disabled sync policy, and select the “Enable” button in the drop-down menu to bring up the action confirmation dialog.
- Click the “OK” button to complete the operation.
Batch Enable
- Select one or more “disabled” sync policies in the list of sync policies, click the “Batch Action” button at the top of the list, and select the “Enable” button in the drop-down menu to bring up the operation confirmation dialog box.
- Click the “OK” button to complete the operation.
Disable
This function is used to disable the sync policy in the “enabled” state. The sync policy in the disabled state will not take effect when the associated cloud account is synchronized.
Disable
- On the Sync Policy page, click the “More” button in the right column of the enabled sync policy, and select the “Disable” button in the drop-down menu to bring up the action confirmation dialog.
- Click the “OK” button to complete the operation.
Batch Disable
- Select one or more “enabled” sync policies in the list of sync policies, click the “Batch Action” button at the top of the list, and select the drop-down menu “Disable” button to bring up the operation confirmation dialog box.
- Click “OK” button to complete the operation.
Delete
This function is used to delete the sync policy. Only the sync policy that is not associated with the cloud account supports deletion.
Delete
- On the sync policy page, click the “More” button on the right column of the sync policy, and select the “Delete” button in the drop-down menu to bring up the operation confirmation dialog.
- Click the “OK” button to complete the operation.
Batch Delete
- Select one or more sync policies in the list of sync policies, click the “Batch Action” button at the top of the list, and select the drop-down menu “Delete” button to bring up the operation confirmation dialog box.
- Click the “OK” button to complete the operation.
View Sync Policy Details
This function is used to view the details of the sync policy.
- On the Sync Policy page, click the Sync Policy Name item to enter the Sync Policy Details page.
- View the basic information, including Cloud ID, ID, name, status, domain, item, enabled status, number of rules, create at, update at, and comments.
View operation log
This function is used to view the log information of sync policy related operations.
- On the Sync Policy page, click the Sync Policy Name item to enter the Sync Policy Details page.
- Click the Operation Log tab to enter the Operation Log page.
- Load More Logs: In the Operation Logs page, the list shows 20 operation logs by default. To view more operation logs, please click “Load More” button to get more logs.
- View Log Details: Click the “View” button on the right column of the operation log to view the log details. Copy details are supported.
- View logs of specified time period: If you want to view the operation logs of a certain time period, set the specific date in the start date and end date at the top right of the list to query the log information of the specified time period.
- Export logs: Currently, only the logs displayed on this page are supported to be exported. Click the upper-right corner of
 icon, set the export data column in the pop-up export data dialog, and click the “OK” button to export the logs.