Proxy Agent
Proxy Agent is the SSH service on the platform, which is used to establish forwarding rules with the virtual machines managed by the Proxy Agent node.
Proxy Agent, i.e. SSH service on the platform, is used to establish forwarding rules with the virtual machines managed by Proxy Agent nodes. After the system is created, a Pod will be automatically deployed as the Proxy Agent. When the environment is updated or the listening address is changed, the backend will update the listening address and the service address according to the actual situation.
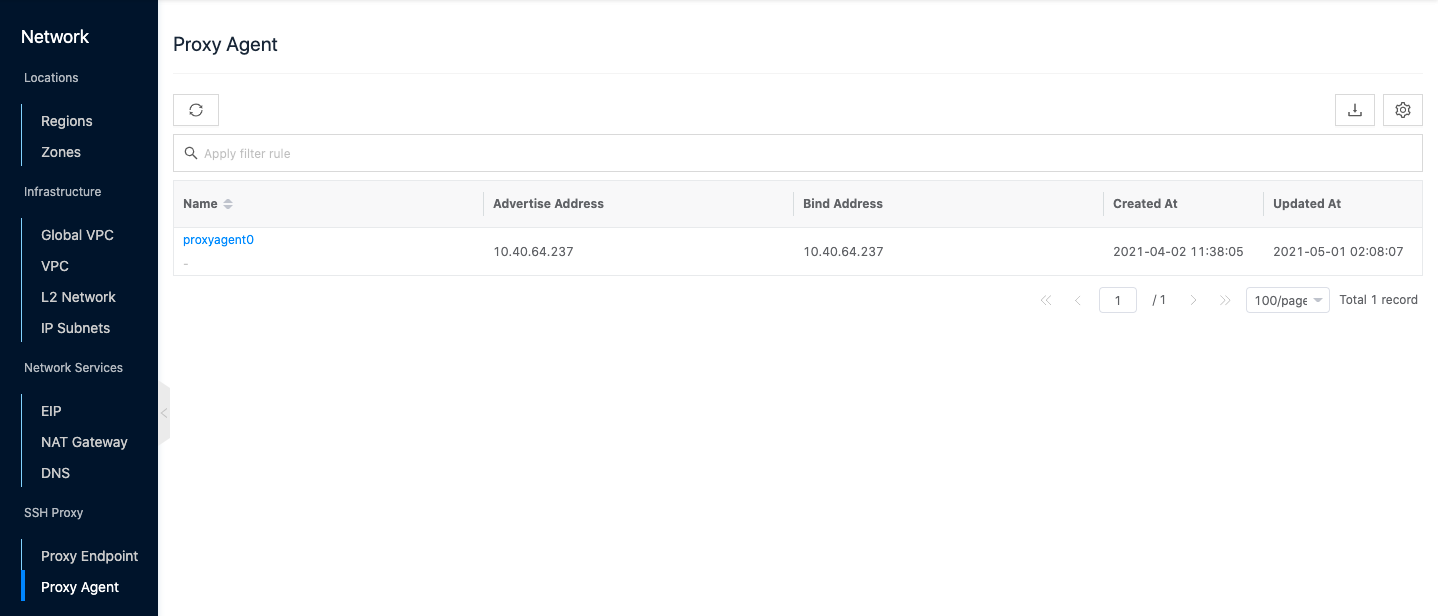
Entry : In the cloud management platform click the top left corner navigation menu, and click “Network/SSH Proxy/Proxy Agent” menu item in the left menu bar that pops up to enter the Proxyagent page.
View Proxy Agent details
This function is used to view the details of the Proxy Agent.
- In the Proxy Agent list, click the Proxy Agent name item to enter the Proxy Agent details page.
- View the following information, including Cloud ID, ID, name, status, domain, project, create at, update at, and description.
View operation log
This function is used to view the log information of Proxy Agent-related operations
- In the Proxy Agent list, click the Proxy Agent name item to enter the Proxy Agent details page.
- Click the Operation Log tab to enter the Operation Log page.
- Load More Logs: In the Operation Logs page, the list shows 20 operation logs by default. To view more operation logs, please click the “Load More” button to get more logs.
- View Log Details: Click the “View” button on the right column of the operation log to view the log details. Copy details are supported.
- View log of time period: If you want to view the operation log of a certain time period, set the specific date in the start date and end date at the top right of the list to query the log information of the time period.
- Export logs: Currently, only the logs displayed on this page are supported to be exported. Click the upper-right corner of
 icon, set the export data column in the pop-up export data dialog, and click the “OK” button to export the logs.