Cluster role binding
Cluster role binding defines the binding relationship between a cluster role and a service account to control the operational privileges of the service account.
Please see Official Kubernetes Documentation - RBAC for details on cluster role binding.
Entry: In the cloud management platform, click the top left corner of  navigation menu, and click “Containers/Clusters/Cluster Role Binding” menu item in the left menu bar that pops up to enter the cluster role binding page.
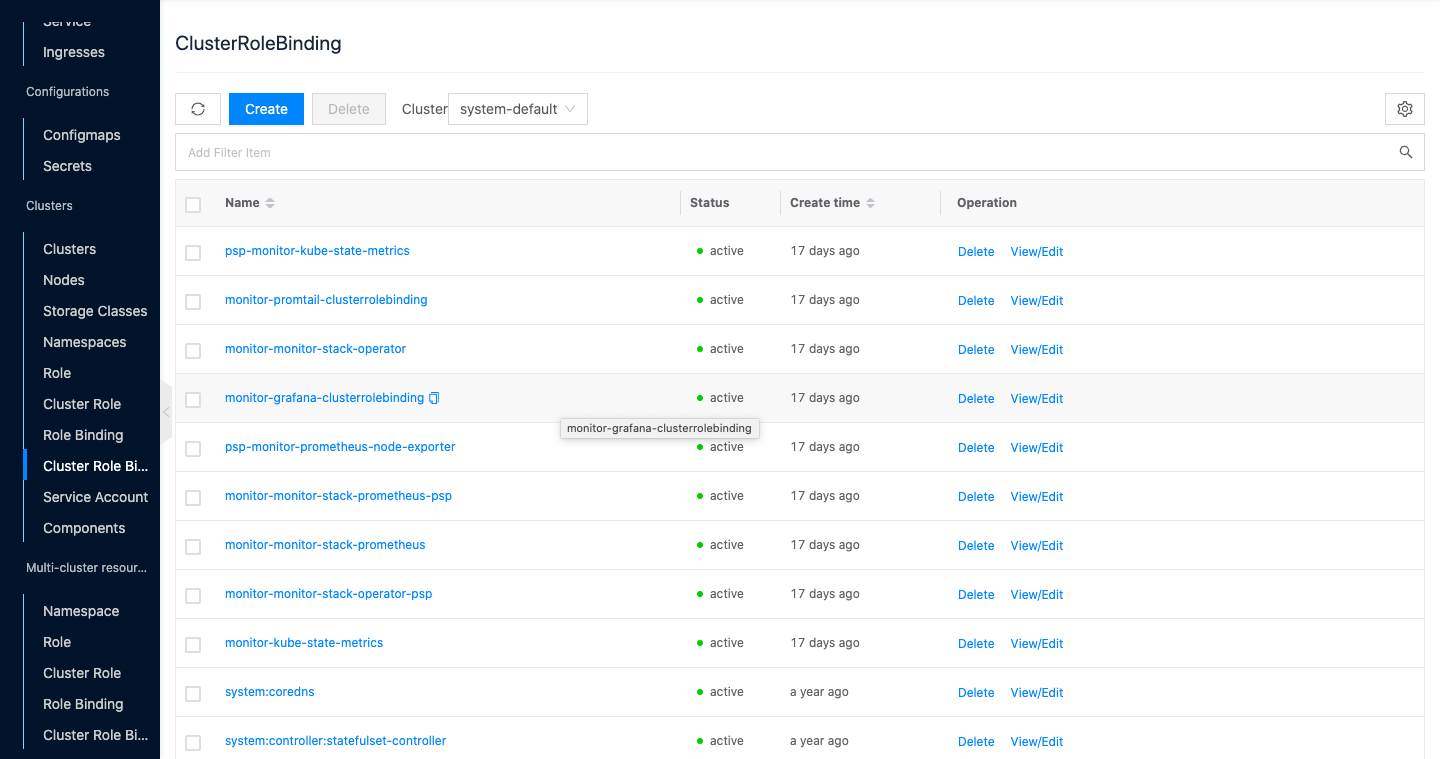
View cluster role bindings
This function is used to filter cluster role binding information based on cluster, namespace.
-
In the cluster role binding page, by default, you can view cluster role binding information for all namespaces under a cluster.
-
When there are multiple clusters in the environment, click the cluster input box on the right side of the list and select other clusters to view the cluster role binding information of all namespaces under other clusters.

Create cluster role binding
This function is used to create cluster role bindings and to authorize cluster role bindings.
- On the cluster role binding page, click the “Create” button at the top of the list to enter the Create Cluster Role Binding page.
- Configure the following parameters.
- Name: Set the name of the cluster role binding.
- Cluster: Select the cluster to which the cluster role binding belongs.
- Cluster role: Select the specific cluster role.
- Subject: Select the type of service account to be bound, including User, Group, and service account.
- Subject Name: Set the specific user, group, and service account.
- Click the “Create” button to complete the operation.
Delete Cluster Role Binding
This function is used to delete the cluster role binding.
Individual Delete
- On the cluster role binding page, click the “Delete” button in the action column on the right side of the cluster role binding, and the action confirmation dialog box pops up.
- Click the “OK” button to delete the cluster role bindings and related resources.
Batch Delete
- Select one or more cluster role bindings in the list of cluster role bindings and click the “Delete” button at the top of the list to bring up the action confirmation dialog.
- Click the “OK” button to delete the cluster role bindings and related resources.
View/Edit
This function is used to view or edit the yaml file of the cluster role binding.
- On the cluster role binding page, click the “View/Edit” button on the right action bar of the cluster role binding to bring up the View/Update dialog box.
- You can view and edit the yaml file information of the cluster role binding.
- After editing the yaml file, click the “OK” button to take effect.
View cluster role binding details
This function is used to view the cluster role binding related information.
- On the Cluster Role Binding page, click the Cluster Role Binding Name item to enter the Cluster Role Binding Details page.
- View the following information: Cloud ID, ID, name, status, domain, project, cluster, namespace, created at, updated at, notes, etc.
View source information
This function is used to view and edit the yaml information of the cluster role binding.
- On the cluster role binding page, click the cluster role binding name item to enter the cluster role binding details page.
- Click the “Source Information” tab to enter the source information page.
- Click the “Copy Content” button to copy the yaml file information of the node.
- After updating the yaml file, click the “Update” button.
View Operation Log
This function is used to view the operation logs related to cluster role binding.
- On the cluster role binding page, click the cluster role binding name item to enter the cluster role binding details page.
- Click the Operation Log tab to enter the Operation Log page.
- Load More Logs: In the Operation Logs page, the list shows 20 operation logs by default. To view more operation logs, click the “Load More” button to get more logs.
- View Log Details: Click the “View” button on the right column of the operation log to view the log details. Copy details are supported.
- View logs of specified time period: If you want to view the operation logs of a certain time period, set the specific date in the start date and end date at the top right of the list to query the log information of the specified time period.
- Export logs: Currently, only the logs displayed on this page are supported to be exported. Click the upper-right corner of
 icon, set the export data column in the pop-up export data dialog, and click the “OK” button to export the logs.