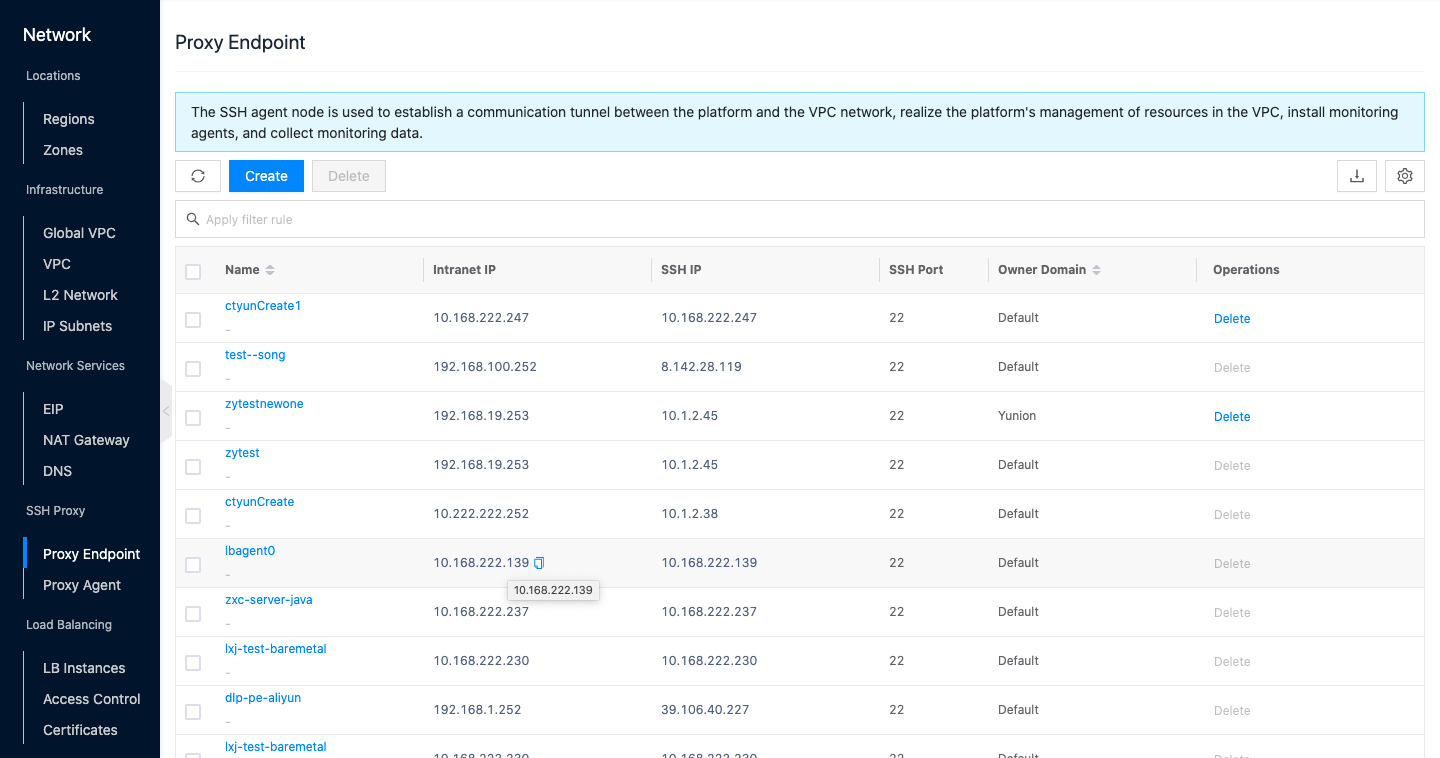
Proxy Endpoint
SSH agent node is used to establish communication tunnel between platform and VPC network, realize platform’s management of resources in VPC, install monitoring agent, collect monitoring data, etc.
By selecting a server in VPC that can connect to the external network as Proxy Endpoint, the platform can subsequently install Agent for the network interoperable servers in VPC through the local forward of this Proxy Endpoint, and the monitoring information collected by the monitoring Agent will also be reported to the platform through the remote forward of the Proxy Endpoint.
Entry: In the cloud management platform, click the top left corner of  navigation menu, and click “Network/SSH Proxy/SSH Proxy Node” menu item in the left menu bar that pops up to enter the SS Proxy Node page.
Create Proxy Endpoint
This function is used to create a new proxy node.
- In the Proxy Endpoint page, click the “Create” button at the top of the list to enter the Create Proxy Endpoint page.
- Set the following parameters in the Select Server page.
- Domain: Set the domain to which the Proxy Endpoint belongs, and filter the optional servers by domain.
- Name: Set the name of the Proxy Endpoint.
- Region: Filter VPCs by platform, region.
- Network: Filter servers by VPC, network.
- Server: Filter the qualified servers by the above filtering criteria, and support searching servers by name and IP in the search box, please make sure the selected server meets the Server Configuration Requirements, if there is no suitable server, you can click the “Create” hyperlink to jump to the server list page to create a server that meets the requirements.
- After selecting the server, click “Next” button to start detecting the ssh authentication status of the server.
- If the ssh authentication status of the server is “Available”, you can directly click “OK” button to start creating proxyendpoint.
- If the ssh authentication status of the server is “Unavailable”, please click the “View” button in the list of actions to see the specific reason for ssh authentication status being unavailable.
- If the error message indicates “none publickey” or the ssh port is not the default port, you can setup ssh authentication of the server to make the server ssh authentication status available. The configuration parameters for setup ssh authentication mode are as follows.
- SSH port: Modify the SSH port of the virtual machine to enable unencrypted login to the virtual machine through this port.
- Setting method: The public key of the platform can be uploaded to the server by key, password or script.
- When the setting method is “Keypairs”, please use the root user or the user with sudo password-free privilege to connect to the corresponding server via ssh with the user name and private key, and click “OK” button to start setting and detecting if the server’s ssh authentication status becomes available.
- When the setting method is “Password”, please use the root user or a user with sudo password-free privilege to connect to the corresponding server via ssh with the user name and password. Click the “OK” button to start setting and detecting if the server’s ssh authentication status becomes available.
- When the setting method is “scripts”, please execute the following script in the server with root or sudo privileges, and then click “OK” button to start setting and detecting if the server’s ssh authentication status becomes available.
- If the error message indicates “network error”, you need to go back to the previous step and select another server, or bind EIP or NAT gateway for this server so that it can communicate with the platform network.
- If the error message indicates “none publickey” or the ssh port is not the default port, you can setup ssh authentication of the server to make the server ssh authentication status available. The configuration parameters for setup ssh authentication mode are as follows.
- Only when the ssh authentication status of the server is “Available”, you can click the “OK” button to start creating the Proxy Endpoint.
- When creating the Proxy Endpoint, it will check whether the sshd configuration of the server meets the server configuration requirements, if not, it will try to change the sshd configuration of the server, so it may take too long to create the ssh proxy node, if prompted for timeout, please click “OK” button again to create the Proxy Endpoint.
Server Configuration Requirements
- Currently, only Linux OS servers are supported as Proxy Endpoints.
- Please ensure that the server is in a running state.
- Please ensure that the server supports password-ssh authentication via the platform; if the server can be password-free logged in by the platform, it is required that the server is networked with the platform (i.e. the server is networked with the platform via EIP, NAT gateway or SSH proxy, etc.) as well as the presence of the platform’s public key file in the server.
- Please check the sshd configuration of the server, GatewayPorts is clientspecified, if the value of this item is no, only the address of 127.0.0.1 is allowed to bind, so that remote forward cannot be used normally, causing the server with monitoring agent installed cannot report monitoring data to the platform, etc.
Delete Proxy Endpoint
This function is used to delete SSH proxy endpoint. When there are forwarding rules under SSH proxy endpoint, deletion is not allowed. The list of forwarding rules is not released at the moment.
Single delete
- On the Proxy Endpoint page, click the “Delete” button in the operation column on the right side of the Proxy Endpoint to bring up the operation confirmation dialog box.
- Click the “OK” button to complete the operation.
Batch Delete
- Select one or more Proxy Endpoints in the Proxy Endpoint list, and click the “Delete” button at the top of the list to bring up the operation confirmation dialog box.
- Click the “OK” button to complete the operation.
View Proxy Endpoint details
This function is used to view the details of Proxy Endpoints.
- In the Proxy Endpoint list, click the Proxy Endpoint name item to enter the Proxy Endpoint details page.
- View the following information, including Cloud ID, ID, name, status, domain, project, intranet address, SSH address, SSH port, create at, update at, comments, etc.
Application scope management
The applicable range means the effective range of the Proxy Endpoint. After the Proxy Endpoint is successfully created, it will take effect under the VPC and IP subnet where the server that created the Proxy Endpoint is located by default, and only under the IP subnet when there is network isolation under the VPC. When the VPCs are interconnected, you can use this Proxy Endpoint under other VPCs through the function of associated networks. When the IP subnets under VPC interoperate, only one Proxy Endpoint needs to exist under VPC. If there are different subnets under VPC with network isolation, one Proxy Endpoint needs to be set for different subnets respectively, and when users submit forwarding requests, the Proxy Endpoint under IP subnets will be matched first, and when it does not exist in IP subnets, the Proxy Endpoint under VPC will be matched.
Associated network
This function is used to add the applicable scope of Proxy Endpoints through the associated network. Before adding, please make sure the network to be added is interoperable with the network where the proxy node is located, otherwise, even if the network is added, the malicious cannot take effect.
- In the Proxy Endpoint list, click Proxy Endpoint name to enter the Proxy Endpoint details page.
- Click the “Scope” tab to enter the scope page.
- Click the “Associate” button at the top of the list to bring up the Associate dialog box.
- Configure the following parameters.
- Name: Set the name of the network.
- Area: Select the area where the network is located.
- Type: Support to select VPC and IP subnet.
- VPC: Select the VPC where the network is located.
- IP Subnet: When you select “IP Subnet” as the type, you need to select the IP subnet where the network is located. Click the “OK” button to complete the operation.
Cancel association
This function is used to disassociate networks, i.e., reduce the scope of application of Proxy Endpoints.
Cancel association
- In the Proxy Endpoint list, click the Proxy Endpoint name item to enter the Proxy Endpoint details page.
- Click the Scope tab to enter the Scope page.
- Click the “Cancel Association” button on the right column of the network to bring up the operation confirmation dialog box.
- Click the “OK” button to complete the operation.
Batch Unassociation
- In the Proxy Endpoint list, click the Proxy Endpoint name item to enter the Proxy Endpoint details page. Click the “Scope” tab to enter the scope page.
- Select one or more networks in the list, and click the “Unassociate” button at the top of the list to bring up the operation confirmation dialog box.
- Click the “OK” button to complete the operation.
View Operation Log
This function is used to view the log information of Proxy Endpoint related operations
- In the Proxy Endpoint list, click the Proxy Endpoint name item to enter the Proxy Endpoint details page.
- Click the Operation Log tab to enter the Operation Log page.
- Load More Logs: In the Operation Logs page, the list shows 20 operation logs by default. To view more operation logs, please click “Load More” button to get more logs.
- View Log Details: Click the “View” button on the right column of the operation log to view the log details. Copy details are supported.
- View log of time period: If you want to view the operation log of a certain time period, set the specific date in the start date and end date at the top right of the list to query the log information of the time period.
- Export logs: Currently, only the logs displayed on this page are supported to be exported. Click the upper-right corner of
 icon, set the export data column in the pop-up export data dialog, and click the “OK” button to export the logs.